
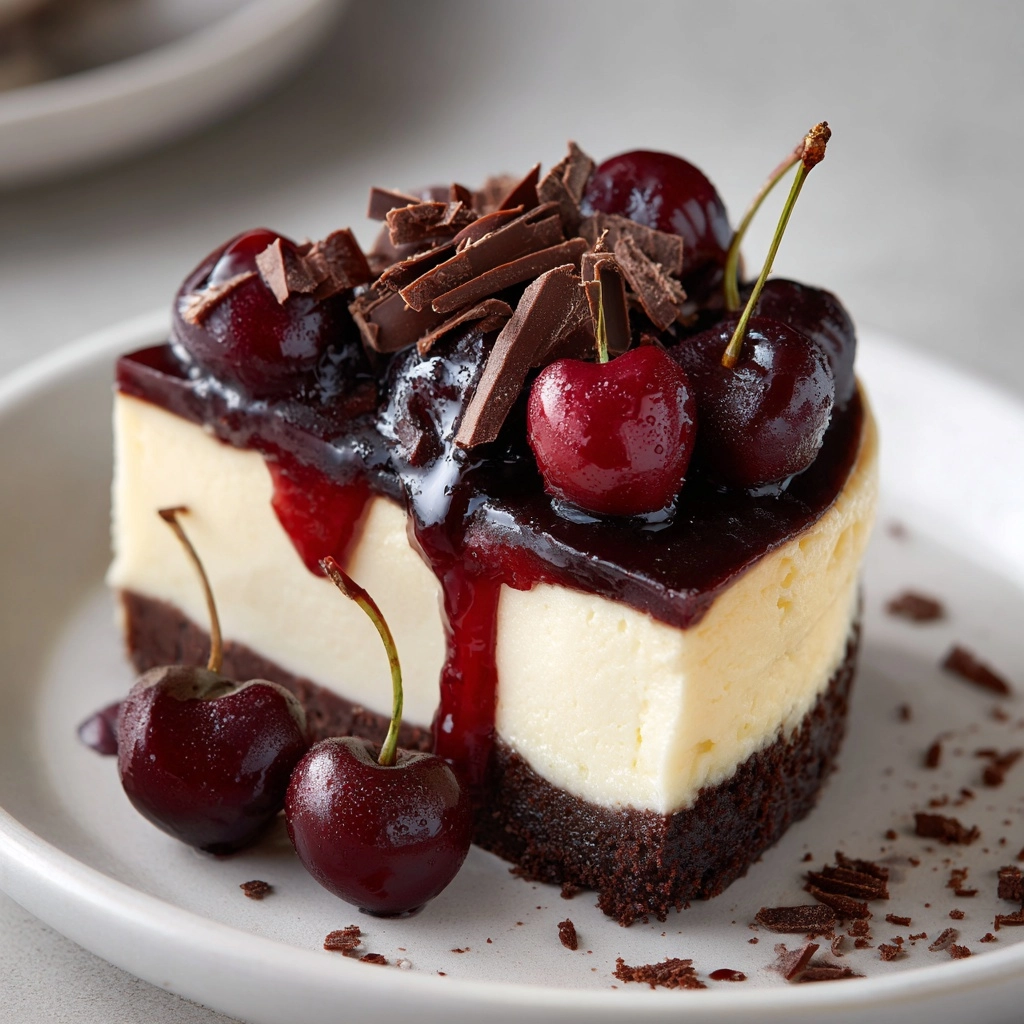
If you have a sweet tooth craving that combines rich chocolate, creamy textures, and the bright freshness of berries, you have to try this No-Bake Black Forest Berry Cheesecake Recipe. It’s a gorgeous dessert that dances between indulgence and lightness, perfect for those warm days when you want something elegant but fuss-free. Every bite brings the magic of a classic Black Forest cake, but with luscious cream cheese and vibrant berries that make this cheesecake as delightful to look at as it is to eat.
Ingredients You’ll Need
These ingredients are wonderfully straightforward yet essential for creating the perfect balance in your cheesecake. Each element plays its part: the chocolate cookie crust gives a chocolaty crunch, the cream cheese adds smooth richness, and the berries provide that fresh, fruity zing you’ll adore.
- Chocolate cookie crumbs (1½ cups): This forms the chocolaty, crunchy base that sets the stage for everything delicious to come.
- Unsalted butter (5 tablespoons, melted): Helps bind the cookie crumbs into a firm crust that holds perfectly without baking.
- Cream cheese (16 ounces, softened): The creamy heart of the cheesecake, lending that signature tang and velvety texture.
- Granulated sugar (½ cup): Sweetens the filling just right without overpowering.
- Vanilla extract (1 teaspoon): Brings warmth and depth, enhancing the overall flavor.
- Heavy whipping cream (1½ cups): Whipped to fluffy perfection, it lightens the filling beautifully.
- Cherry pie filling (1 cup): Adds a burst of classic Black Forest cherry goodness atop the cheesecake.
- Mixed berries (½ cup fresh or frozen): A vivid medley of raspberries, blackberries, and blueberries to brighten every forkful.
- Powdered sugar (1 tablespoon, optional): For a delicate dusting to finish your cheesecake with elegance.
- Chocolate shavings (optional): To amp up the chocolate charm and add a decorative touch.
How to Make No-Bake Black Forest Berry Cheesecake Recipe
Step 1: Prepare the Crust
Start by combining the chocolate cookie crumbs with melted butter in a bowl. Mix them well until every crumb is coated with butter, which helps everything stick together beautifully. Press this mixture firmly into the bottom of a 9-inch springform pan, creating an even crust layer. Then, pop the pan into the refrigerator to chill as you prepare the luscious filling.
Step 2: Make the Creamy Filling
In a large bowl, beat the softened cream cheese with the granulated sugar and vanilla extract until you get a smooth, fluffy mixture free of any lumps. This step ensures your cheesecake filling is irresistibly creamy. Remember, softened cream cheese is key for a silky texture!
Step 3: Whip the Cream
In a separate bowl, whip the heavy whipping cream until stiff peaks form. This means the cream should hold its shape when you lift the whisk, so take your time here—it’s worth it!
Step 4: Fold and Combine
Carefully fold the whipped cream into the cream cheese mixture. Folding gently is crucial so you keep the airy texture intact, giving your cheesecake a light yet rich mouthfeel. Once combined, spread the filling evenly over the chilled crust in your pan.
Step 5: Add the Berry Topping
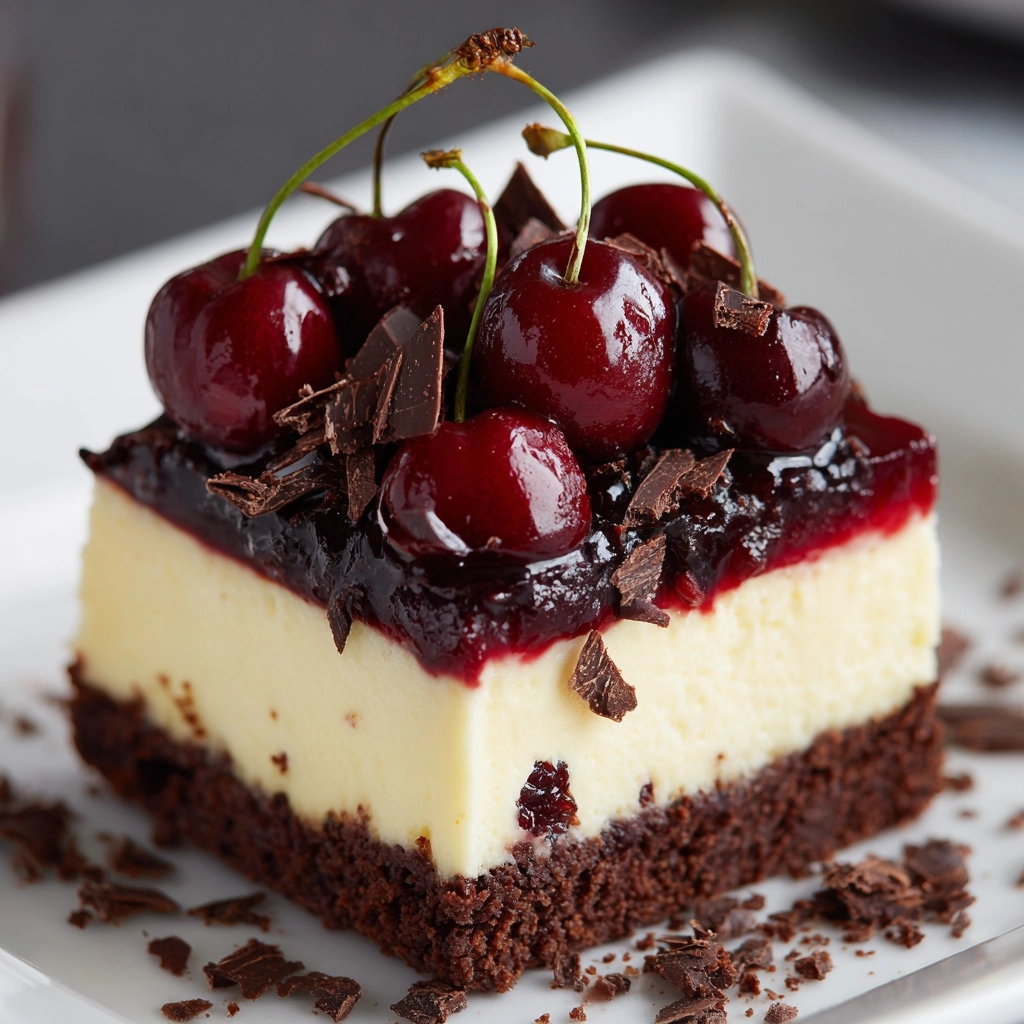
In a small bowl, gently combine the cherry pie filling with your mixed berries. Spoon this vibrant topping evenly over your cheesecake. This layer not only adds a beautiful burst of color but also the signature Black Forest flavor that makes this dessert unforgettable.
Step 6: Chill and Set
Cover the cheesecake with plastic wrap and refrigerate for at least 6 hours or overnight. This allows the flavors to meld and the filling to set perfectly, making every slice clean and creamy.
How to Serve No-Bake Black Forest Berry Cheesecake Recipe
Garnishes
Before serving, sprinkle the top with a little powdered sugar and scatter chocolate shavings for an elegant finish. These simple touches enhance the look and add a subtle sweetness and crunch that your guests will love.
Side Dishes
Pair this cheesecake with a dollop of freshly whipped cream or a scoop of vanilla bean ice cream for an extra indulgent experience. A fruity coulis or fresh raspberries on the side further complement the tartness of the berries in the dessert.
Creative Ways to Present
Try serving individual portions in clear glasses or jars layered with extra berry compote for a charming twist. Or, garnish each slice with a sprig of mint or edible flowers to elevate the presentation for special occasions.
Make Ahead and Storage
Storing Leftovers
This cheesecake keeps wonderfully in the refrigerator for up to 4 days when covered tightly. Be sure to keep it chilled to maintain its creamy texture and fresh berry flavor.
Freezing
You can freeze slices wrapped well in plastic wrap and aluminum foil for up to 1 month. Thaw overnight in the fridge for best results. Keep in mind, the texture of fresh berries might soften slightly after freezing, but the flavor will still shine.
Reheating
Since this is a no-bake cheesecake, it’s best enjoyed chilled and does not require reheating. Just allow slices to come to room temperature for a few minutes if you prefer a softer texture.
FAQs
Can I use a different type of crust for this cheesecake?
Absolutely! Graham cracker crust works well if you want something lighter than chocolate cookie crumbs. Just adjust the butter amount slightly if needed to get the right crust texture.
What if I don’t have cherry pie filling?
You can substitute with fresh cherries cooked down with a little sugar or use another favorite fruit pie filling like blueberry or raspberry, depending on your taste.
Can I make this recipe dairy-free or vegan?
This recipe relies on cream cheese and heavy cream for its creamy texture, so swapping for dairy-free or vegan alternatives would require specialty products and might change the texture somewhat. However, there are vegan cream cheese and whipped coconut cream options that you can experiment with.
How do I prevent the crust from getting soggy?
Press the crust firmly and chill well before adding the filling—this sets a solid base. Also, avoid over-wetting the crust with fillings that have a lot of liquid.
Can I add extra berries inside the filling?
Definitely! Folding a handful of berries into the cream cheese mixture before spreading adds bursts of flavor and a fresh texture that brighten each bite.
Final Thoughts
This No-Bake Black Forest Berry Cheesecake Recipe is one of those desserts you’ll find yourself returning to again and again. It’s stunning, simple, and utterly delicious—a guaranteed crowd-pleaser that doesn’t demand turning on the oven. Give it a try and watch how it becomes a favorite in your dessert rotation, ready to impress family and friends with minimal effort and maximum flavor.
Print
No-Bake Black Forest Berry Cheesecake Recipe
- Prep Time: 25 minutes
- Cook Time: 0 minutes
- Total Time: 6 hours 25 minutes
- Yield: 12 servings
- Category: Dessert
- Method: No-Cook
- Cuisine: American
- Diet: Vegetarian
Description
This No-Bake Black Forest Berry Cheesecake combines a rich chocolate cookie crust with a smooth and creamy cream cheese filling, topped with luscious cherry pie filling and mixed berries. Perfect for a refreshing, easy-to-make dessert that requires no baking and is ideal for summer gatherings.
Ingredients
Crust
- 1½ cups chocolate cookie crumbs
- 5 tablespoons unsalted butter, melted
Filling
- 16 ounces cream cheese, softened
- ½ cup granulated sugar
- 1 teaspoon vanilla extract
- 1½ cups heavy whipping cream
Topping
- 1 cup cherry pie filling
- ½ cup fresh or frozen mixed berries (raspberries, blackberries, blueberries)
- 1 tablespoon powdered sugar (optional, for garnish)
- Chocolate shavings (optional, for garnish)
Instructions
- Prepare the crust: In a medium bowl, combine the chocolate cookie crumbs and melted butter until well mixed. Press this mixture firmly into the bottom of a 9-inch springform pan to form an even crust. Place the crust in the refrigerator to chill while preparing the filling.
- Make the filling: In a large bowl, beat the softened cream cheese with granulated sugar and vanilla extract until the mixture is smooth and creamy with no lumps.
- Whip the cream: In a separate bowl, whip the heavy cream until stiff peaks form, ensuring it is fluffy and holds shape.
- Combine the filling and cream: Gently fold the whipped cream into the cream cheese mixture until fully combined, maintaining the light and airy texture.
- Assemble the cheesecake: Spread the creamy filling evenly over the chilled crust in the springform pan.
- Add the topping: In a small bowl, gently stir the cherry pie filling with the mixed berries. Spoon this berry mixture evenly over the cheesecake filling.
- Chill to set: Cover the assembled cheesecake and refrigerate for at least 6 hours or overnight until it is fully set and firm.
- Serve and garnish: Before serving, optionally garnish with a dusting of powdered sugar and chocolate shavings for an elegant finish.
Notes
- Use graham crackers instead of chocolate cookie crumbs for a lighter crust flavor.
- If using frozen berries, thaw and drain them well to avoid excess moisture topping the cheesecake.
- For added texture, fold a few berries into the cream cheese filling before spreading it over the crust.

