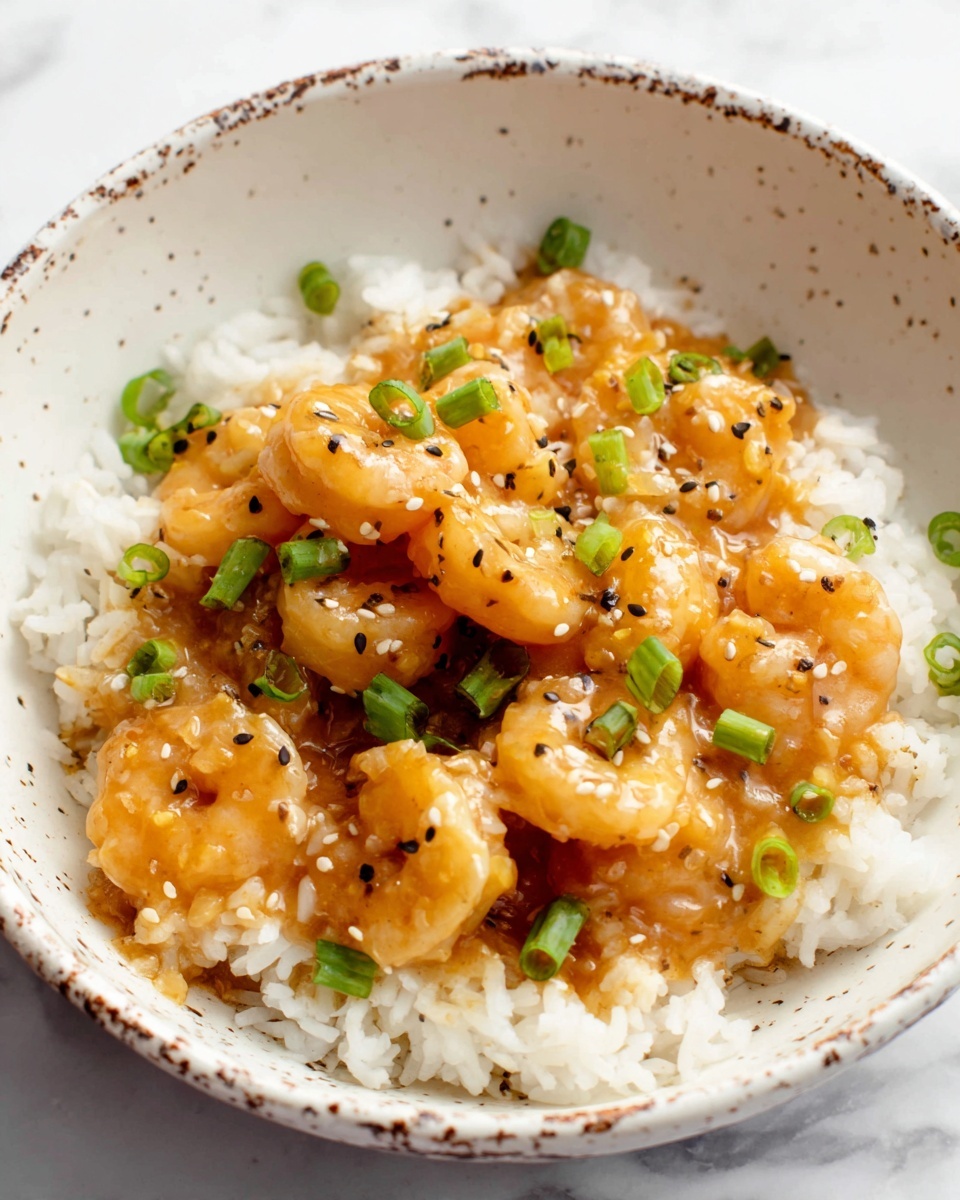
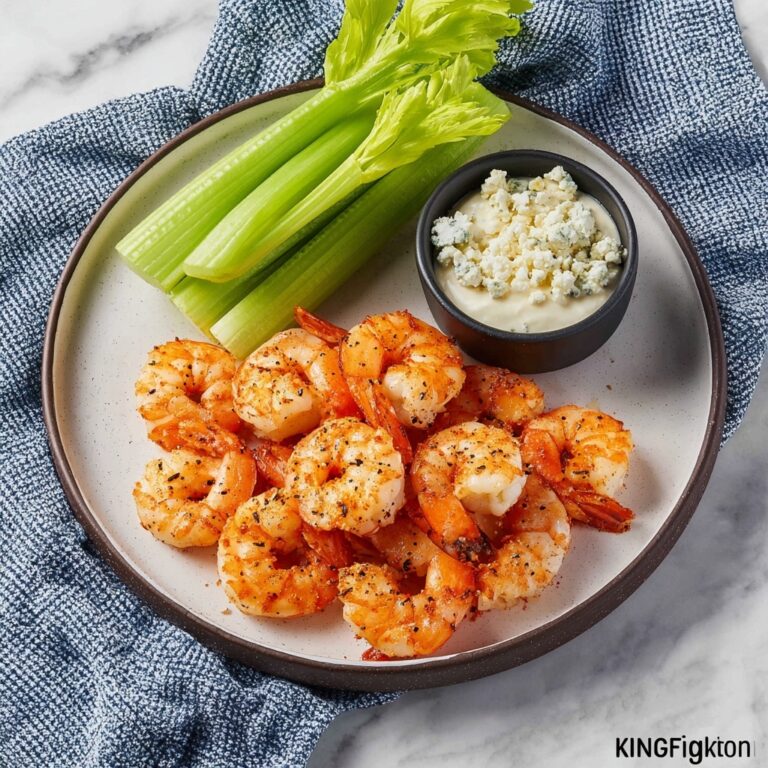
There is something truly magical about the sweet and tangy dance of flavors in a Honey Garlic Shrimp Recipe that makes it an absolute favorite for busy weeknights or special gatherings. This dish combines succulent shrimp with a luscious honey garlic glaze that caramelizes beautifully, creating layers of taste that are both simple and unforgettable. With just a handful of fresh ingredients, this recipe bursts with brightness from lemon juice and garlic, balanced by the rich umami of soy sauce and a hint of sesame crunch. It’s quick to cook, endlessly versatile, and sure to become one of those go-to meals you’ll want to share with everyone you know.
Ingredients You’ll Need
To make the perfect Honey Garlic Shrimp Recipe, you only need a few basic but mighty ingredients. Each one plays a key role—from the tender shrimp that soak up the sauce to the honey that adds that perfect touch of sweetness and the garlic that provides depth. Here’s what you’ll want on hand to bring this dish to life:
- Shrimp (1 pound, thawed & peeled): The star protein, quick to cook and full of flavor.
- Honey (1/4 cup): Adds natural sweetness for a sticky, luscious glaze.
- Low sodium soy sauce (1/4 cup): Delivers savory umami without overpowering the dish.
- Water (1/4 cup): Helps balance the sauce and keeps consistency just right.
- Lemon juice (1/2 tablespoon plus more for serving): Provides a bright, zesty contrast that lifts all the flavors.
- Garlic (4 cloves, minced): Packs that punch of aromatic goodness that defines the recipe.
- Cornstarch (1 tablespoon): Thickens the sauce nicely so it clings to every shrimp.
- Olive oil (1 tablespoon): For sautéing the shrimp with a subtle fruity note.
- Butter (1 tablespoon): Adds richness and helps the sauce develop a silky texture.
- Chopped scallions (1/3 cup): Fresh green color and a mild onion flavor to finish the dish.
- Sesame seeds (optional): A lovely crunchy garnish that brings a nutty aroma.
- Salt & pepper (to taste): Essential seasonings to balance and enhance all the elements.
How to Make Honey Garlic Shrimp Recipe
Step 1: Prep the Shrimp
Start with thawed and peeled shrimp, removing their tails for easier eating. If you’re working with frozen shrimp, simply place them in a colander and rinse under cold water until thawed—this quick step ensures your shrimp cook evenly and have the best texture.
Step 2: Whisk Together the Sauce
In a medium bowl, combine the honey, soy sauce, water, lemon juice, minced garlic, and cornstarch. Whisking the sauce thoroughly dissolves the cornstarch and melds all the flavors, setting the stage for the ultimate sticky, flavorful glaze that perfectly coats the shrimp.
Step 3: Cook the Shrimp
Heat olive oil and butter in a skillet over medium-high heat until the butter is melted and the pan is hot. Add the shrimp and cook them for about 2 minutes, turning frequently with tongs. You want a lovely pink color with just a touch of sear—this is the moment the shrimp start to soak up the wonderful honey garlic magic.
Step 4: Add the Sauce and Simmer
Turn the heat down to medium and pour your prepared sauce into the skillet. Let everything cook together for 2 minutes or until the shrimp are fully cooked and the sauce has thickened beautifully. If the sauce feels too thick, just add a splash of water to loosen it up and keep every bite delectably saucy.
Step 5: Final Touches
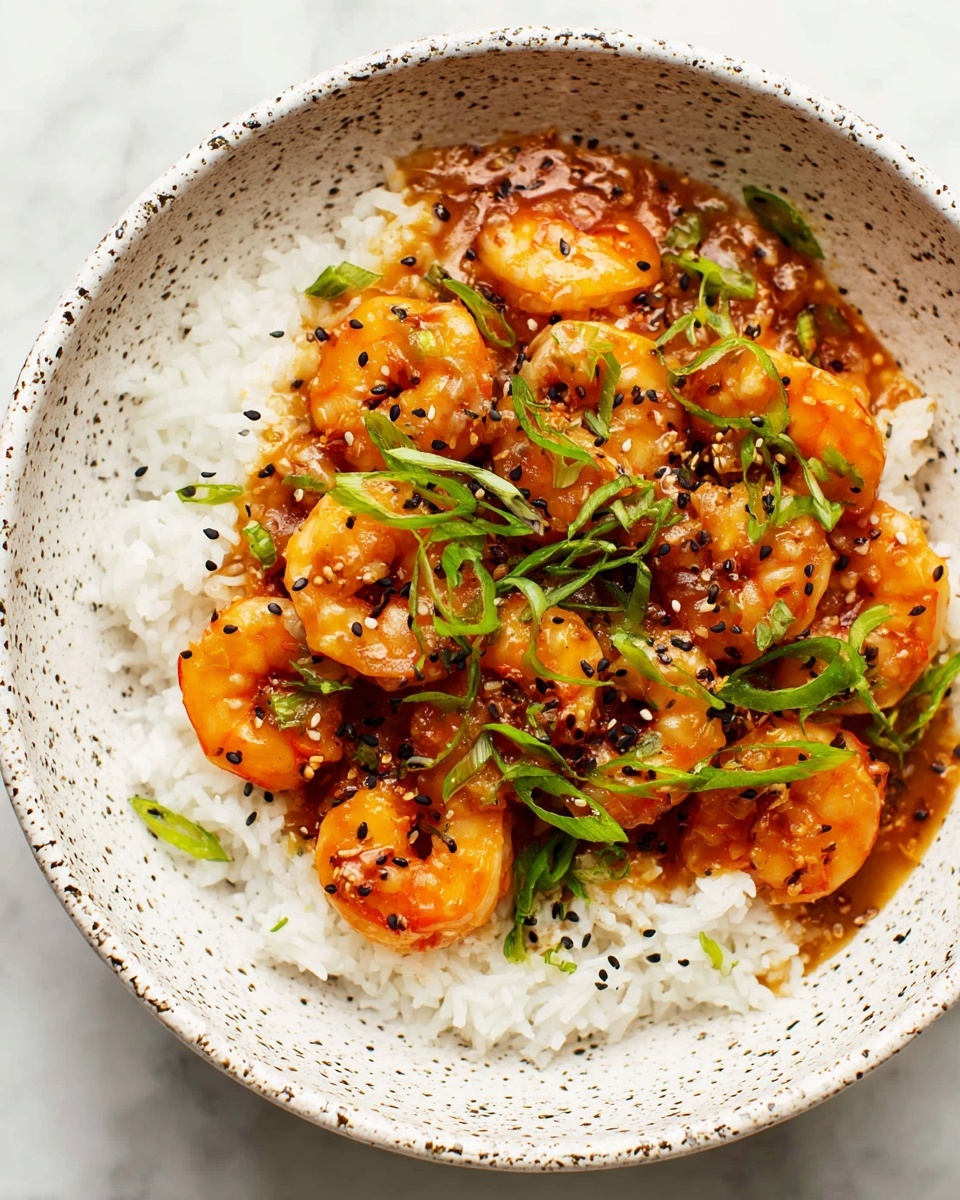
Remove the skillet from heat and sprinkle the freshly chopped scallions over the shrimp. A quick squeeze of extra lemon juice at this stage adds a bright finishing touch. If you like, top with some sesame seeds for crunch and season with salt and pepper to taste—this transforms the dish from tasty to absolutely irresistible.
How to Serve Honey Garlic Shrimp Recipe
Garnishes
Freshness and texture are key when serving Honey Garlic Shrimp Recipe. Along with chopped scallions and toasted sesame seeds, try adding a sprinkle of chopped cilantro or a few thin slices of red chili for a subtle heat and vibrant color. These garnishes not only elevate the look but also complement the sweet and savory flavors perfectly.
Side Dishes
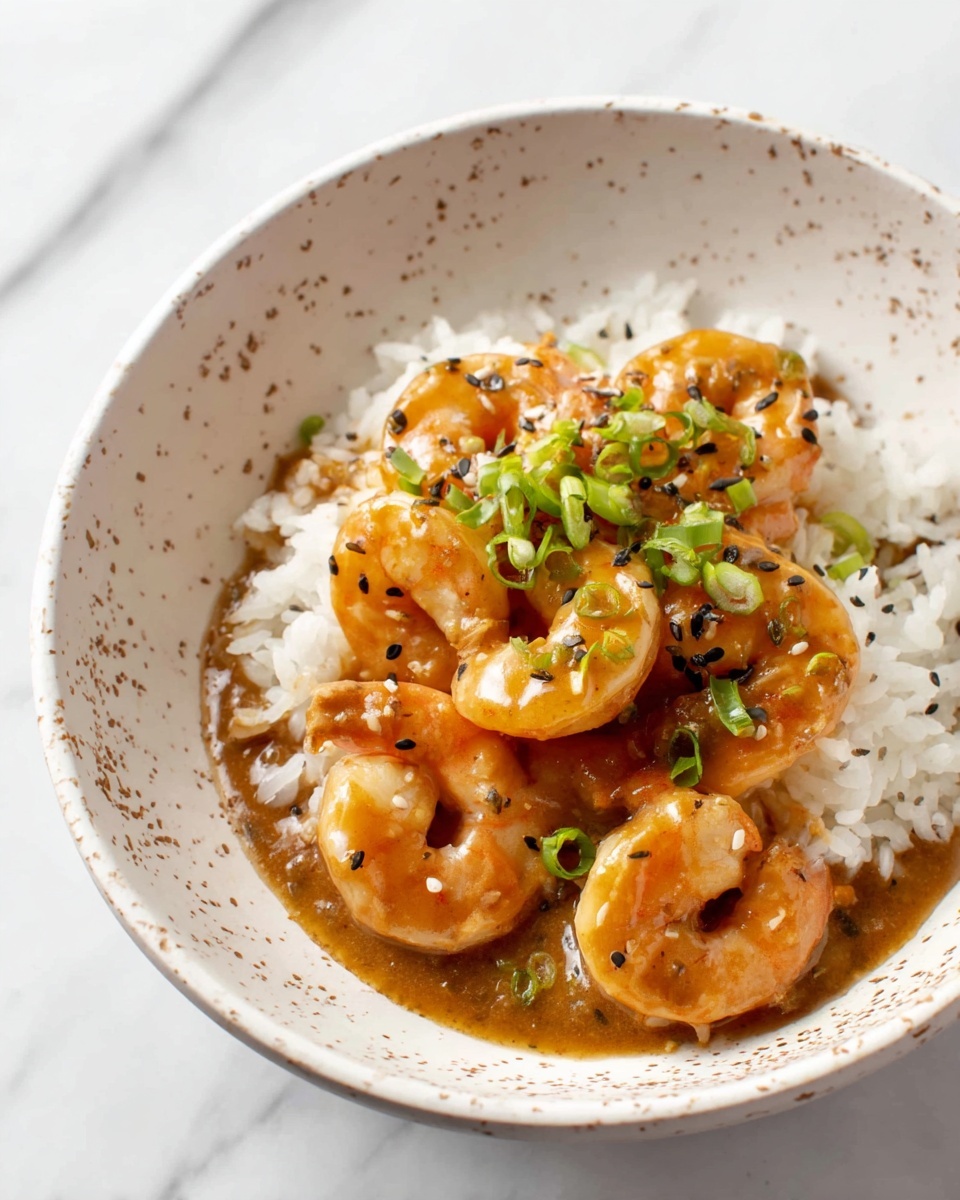
To make this dish a full meal, serve your shrimp alongside fluffy jasmine rice or tender quinoa, which soak up the luscious sauce beautifully. Steamed broccoli, snap peas, or roasted asparagus also make crisp, healthy sides that add a lovely green contrast and extra nutrients without competing with the shrimp’s flavor.
Creative Ways to Present
If you’re planning to impress guests, serve your Honey Garlic Shrimp over a bed of garlic butter noodles or nestled inside butter lettuce cups for a fresh, hand-held delight. For a casual dinner, pairing it with warm naan or crusty bread lets everyone mop up every last bit of that delicious sauce.
Make Ahead and Storage
Storing Leftovers
You can keep any leftover Honey Garlic Shrimp refrigerated in an airtight container for up to 2 days. The shrimp will remain tender and the sauce flavorful, making it easy to enjoy a quick second helping with minimal fuss.
Freezing
While shrimp can be frozen, the sauce may separate upon thawing, affecting the texture. If you want to freeze the dish, it’s best to store cooked shrimp and sauce separately in freezer-safe containers for up to 1 month, then gently reheat together to preserve the best quality.
Reheating
When reheating, warm your shrimp gently in a skillet over medium-low heat to prevent overcooking, adding a splash of water to loosen the sauce if needed. Avoid microwaving at high power as that can make shrimp rubbery and unevenly heated. Reheated shrimp are best enjoyed the same day they are thawed.
FAQs
Can I use frozen shrimp directly without thawing?
It’s best to thaw shrimp before cooking so they cook evenly and absorb the sauce properly. Cooking frozen shrimp straight from the freezer often results in uneven texture and longer cooking times, which can dry them out.
Is the sauce very sweet? Can I adjust it?
The honey in the sauce gives a balanced sweetness that pairs beautifully with the savory soy and bright lemon. If you prefer less sweetness, simply reduce the honey by a tablespoon or add more lemon juice to increase the tangy contrast.
Can I add vegetables to this dish?
Absolutely! Bell peppers, snap peas, or baby spinach can be stir-fried quickly with the shrimp for an extra burst of color and nutrition. Just add them in step 3 to cook along with the shrimp before pouring in the sauce.
What kind of soy sauce works best?
Low sodium soy sauce is recommended to keep the saltiness balanced, but you can use regular if preferred—just adjust salt accordingly. For a gluten-free option, tamari works wonderfully as a direct substitute.
How long can I leave the sauce to thicken in the pan?
The sauce thickens quickly once heat is applied and cornstarch activates, usually within 2 minutes. Avoid overcooking as it can become too thick or sticky. If needed, just stir in a splash of water to get the perfect consistency.
Final Thoughts
If you’re craving a dish that’s quick, packed with flavor, and has that perfect sweet and savory balance, this Honey Garlic Shrimp Recipe is your new best friend in the kitchen. It’s impossible not to love the way those tender shrimp soak up the sticky, garlicky sauce and how easy it is to whip up on any night. Give it a try—you might just catch yourself making it on repeat!
Print
Honey Garlic Shrimp Recipe
- Prep Time: 10 minutes
- Cook Time: 20 minutes
- Total Time: 30 minutes
- Yield: 4 servings
- Category: Main Dish
- Method: Stovetop
- Cuisine: Asian
Description
Honey Garlic Shrimp is a quick and flavorful dish featuring succulent shrimp cooked in a savory honey garlic sauce. This easy recipe combines sweet honey, tangy lemon juice, and aromatic garlic for a delicious meal perfect for busy weeknights. Topped with fresh scallions and optional sesame seeds, it’s sure to become a family favorite.
Ingredients
Shrimp
- 1 pound uncooked (31-40/pound size) shrimp (thawed & peeled, tails removed)
Sauce
- 1/4 cup honey
- 1/4 cup low sodium soy sauce
- 1/4 cup water
- 1/2 tablespoon lemon juice (+ more for serving)
- 4 cloves garlic (minced)
- 1 tablespoon cornstarch
Cooking & Garnish
- 1 tablespoon olive oil
- 1 tablespoon butter
- 1/3 cup chopped scallions (or to taste)
- Sesame seeds (optional, for serving)
- Salt & pepper (to taste)
Instructions
- Prep the shrimp: If frozen, place shrimp in a colander and run under cool water until fully thawed. Peel and remove tails if not done already.
- Make the sauce: In a medium bowl, whisk together honey, low sodium soy sauce, water, lemon juice, minced garlic, and cornstarch until smooth and well combined.
- Cook the shrimp: Heat olive oil and butter in a skillet over medium-high heat. When hot, add the shrimp and cook for about 2 minutes, stirring and flipping occasionally, until they start to turn pink.
- Add and thicken the sauce: Reduce heat to medium and pour the prepared sauce into the skillet. Cook for another 2 minutes or until the shrimp are fully cooked and the sauce has thickened. If the sauce becomes too thick, add a small splash of water and stir to loosen it.
- Garnish and serve: Remove the pan from heat. Sprinkle chopped scallions over the shrimp, squeeze additional fresh lemon juice on top if desired, and garnish with sesame seeds. Season with salt and pepper to taste before serving.
Notes
- Use low sodium soy sauce to control the salt content.
- Adjust lemon juice amount according to your taste preference for tanginess.
- Serve over steamed rice or noodles for a complete meal.
- For extra spice, add a pinch of red pepper flakes to the sauce.
- Make sure not to overcook the shrimp to avoid a rubbery texture.

