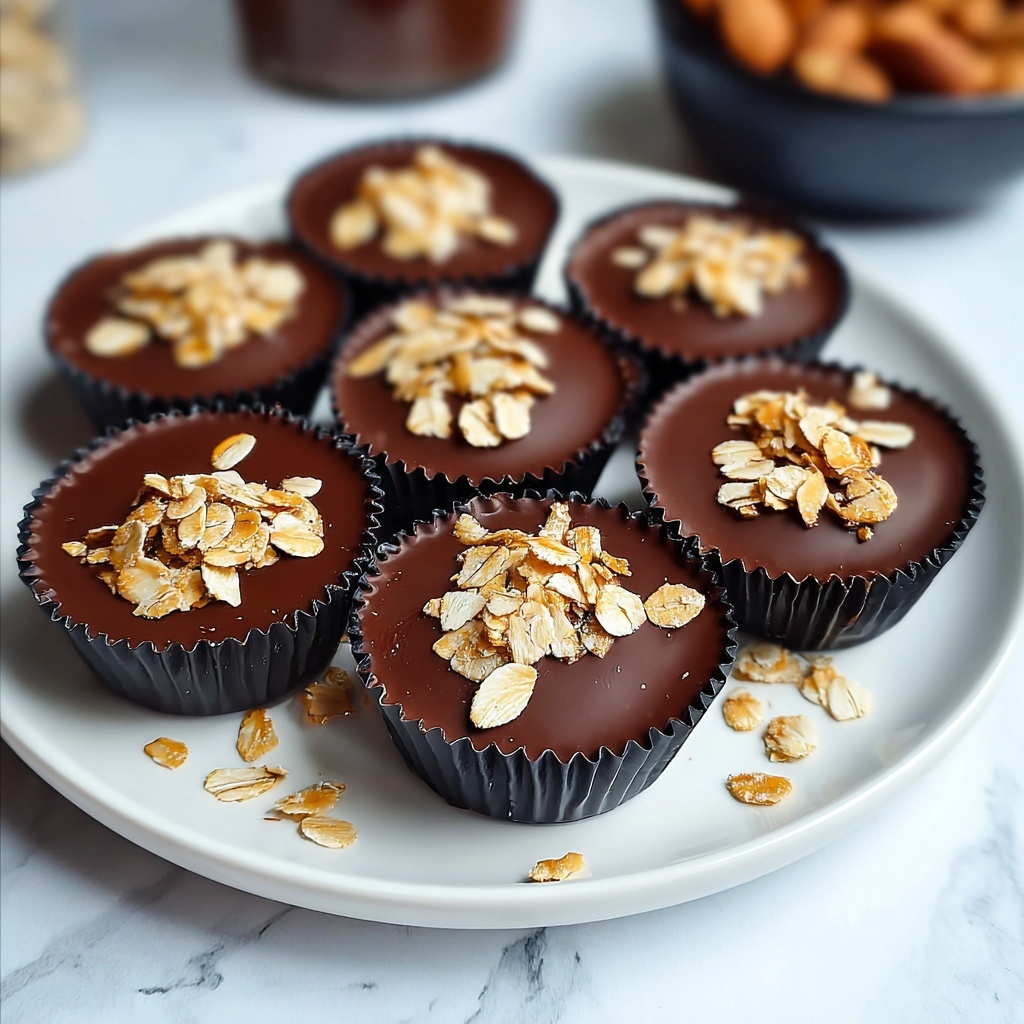
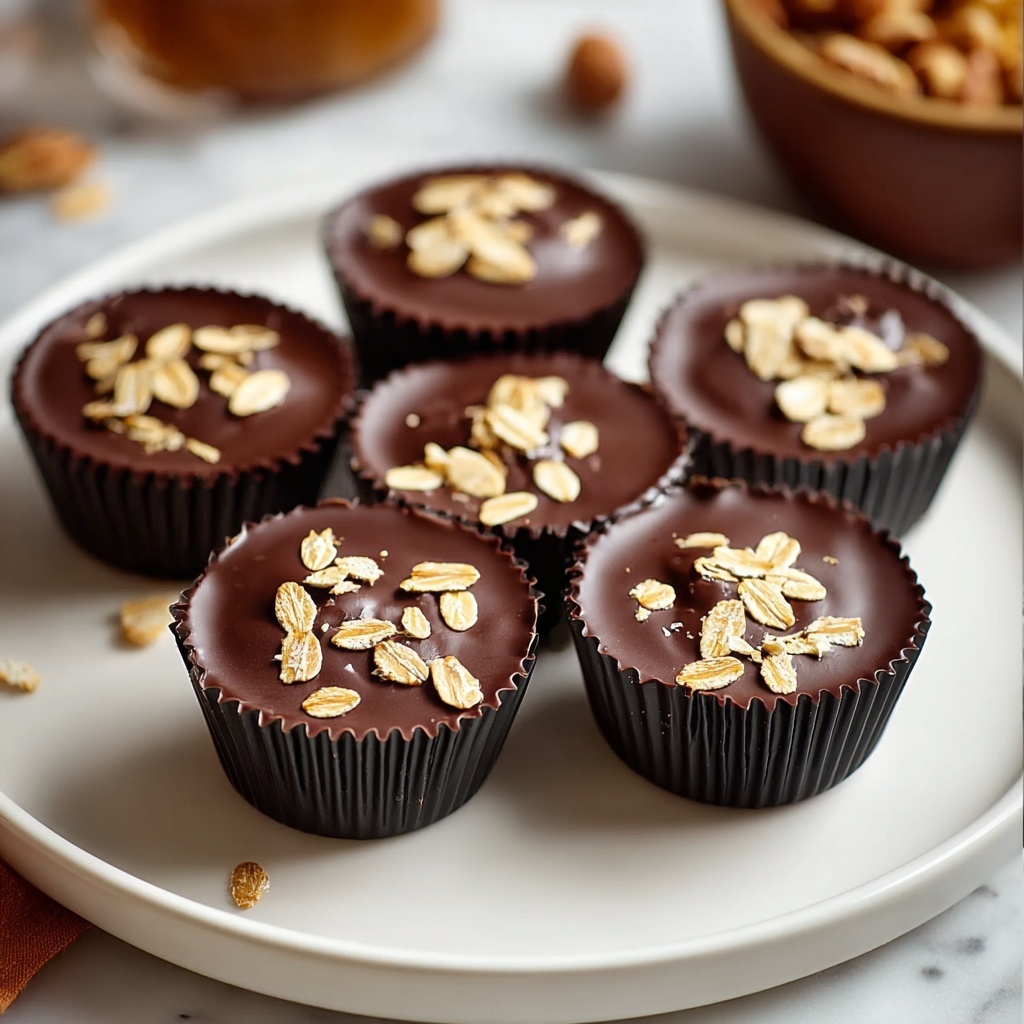
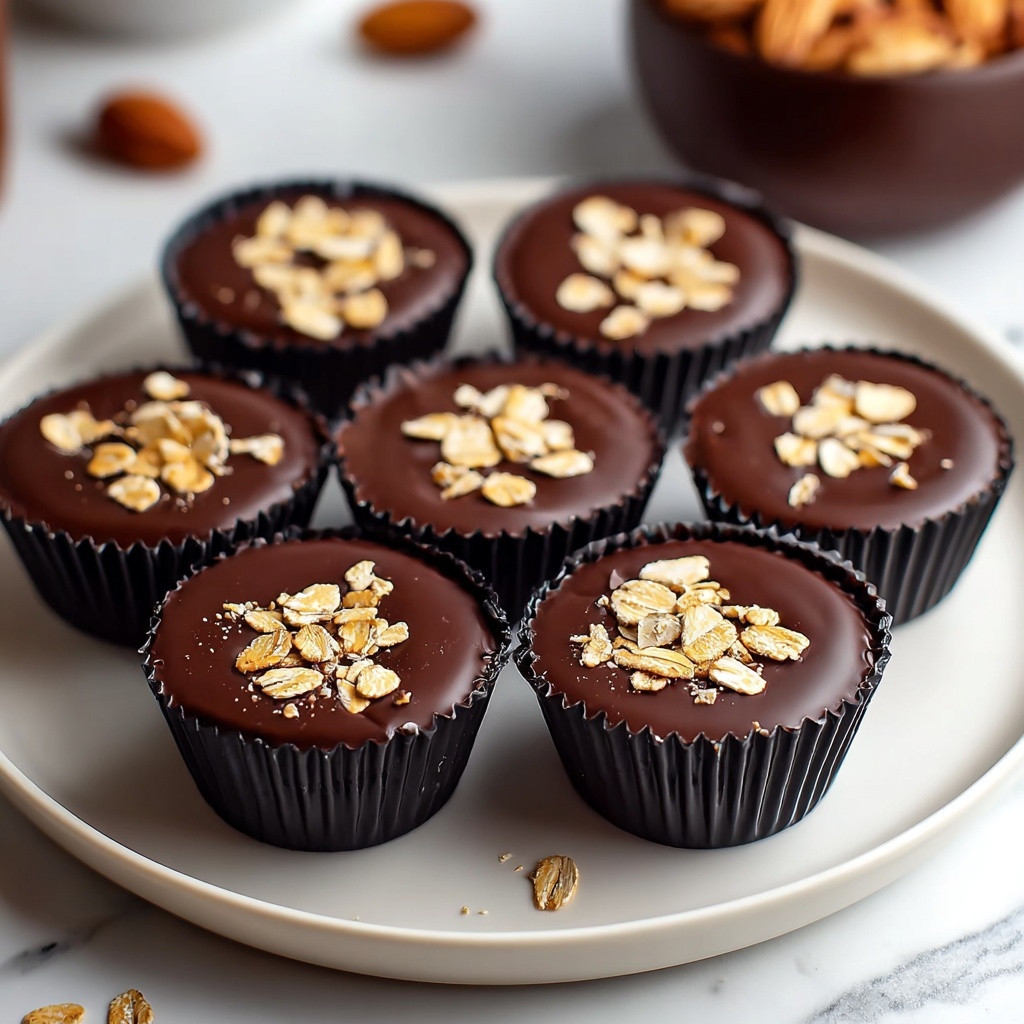
If you are looking for a delicious, quick, and totally satisfying treat, then this Fun No Bake Peanut Butter Oat Cups Recipe is going to become your new best friend in the kitchen. Imagine combining creamy peanut butter, wholesome oats, and sweet honey with a pop of mini chocolate chips—all packed into bite-sized cups that require zero baking and minimal effort. Perfect for an energizing snack, an on-the-go breakfast, or a crowd-pleasing dessert, these peanut butter oat cups are as fun to make as they are to eat. You’ll love how simple ingredients come together in a wonderfully textured and flavorful bite that feels both indulgent and wholesome.
Ingredients You’ll Need
Gathering the right ingredients is super easy, and each one plays its own essential role in the taste and texture of these peanut butter oat cups. From the creamy richness of peanut butter to the subtle sweetness of honey and the gentle crunch of oats, every ingredient is carefully chosen to create a perfect balance.
- 1 cup rolled oats: Provides a hearty and chewy texture while adding fiber and nutrients.
- 1/2 cup peanut butter: Brings creamy richness and a nutty flavor that’s the star of the show.
- 1/4 cup honey: Adds natural sweetness and helps bind the ingredients together.
- 1/4 cup mini chocolate chips: Delivers sweet bursts of chocolate that contrast beautifully with the peanut butter.
- 1/4 cup ground flaxseed: Boosts the nutritional content with omega-3s and fiber, while adding a slight nuttiness.
- 1/2 teaspoon vanilla extract: Enhances overall flavor with a warm, aromatic note.
How to Make Fun No Bake Peanut Butter Oat Cups Recipe
Step 1: Gather Your Ingredients
Start by collecting all your ingredients: rolled oats, peanut butter, honey, mini chocolate chips, ground flaxseed, and vanilla extract. Having everything ready makes the mixing process smooth and enjoyable without any last-minute scrambles.
Step 2: Choose a Mixing Bowl
Select a medium-sized bowl that comfortably fits all your ingredients and leaves room for mixing. This helps you combine everything evenly without any mess.
Step 3: Soften the Peanut Butter
If your peanut butter feels thick or firm, pop it in the microwave for about 15 to 20 seconds. This subtle warming step makes it easier to mix, ensuring a smooth and creamy base.
Step 4: Blend Wet Ingredients
Add the peanut butter and honey into your bowl, then pour in the ground flaxseed. Stir these together thoroughly to create a harmonious mixture where the sweetness and nutty flavors meld perfectly.
Step 5: Incorporate the Rolled Oats
Once the wet ingredients are combined, fold in the rolled oats. Stir carefully but well to ensure the oats absorb some of the moisture while keeping their lovely texture intact.
Step 6: Add Chocolate Chips
Finally, sprinkle in the mini chocolate chips and gently fold them into the mixture. The goal is to distribute these little bursts of sweetness without melting the chocolate, preserving a delightful texture.
Step 7: Prepare Your Molds
Lightly grease a muffin tin or use silicone molds with a bit of oil or non-stick spray, or line each cup with paper liners. This prevents sticking and makes removal a breeze once the cups set.
Step 8: Shape and Chill
Scoop the mixture into each muffin cup, pressing it down gently but firmly to shape compact and sturdy cups. Then place the whole tray in the fridge for at least 30 minutes to chill until firm.
Step 9: Unmold and Enjoy
When set, carefully remove each cup from the tin or mold. Peel off any liners if used, and your fun, no fuss peanut butter oat cups are all set to be enjoyed fresh or stored for later snacking!
How to Serve Fun No Bake Peanut Butter Oat Cups Recipe
Garnishes
For a little extra sparkle and flavor, top your peanut butter oat cups with a sprinkle of crushed peanuts, a drizzle of melted dark chocolate, or a dash of sea salt. These simple touches can elevate the cups from snack time to party-ready treats.
Side Dishes
Pair your Fun No Bake Peanut Butter Oat Cups with a refreshing serving of fresh berries, a cool glass of milk, or a cup of coffee for a delightful snack or breakfast combo. The creamy and slightly sweet cups balance perfectly with fruity or creamy sides.
Creative Ways to Present
Present these treats in colorful mini cupcake liners or on a rustic wooden board with some nuts and dried fruit scattered around. You can also stack them in a jar for an easy grab-and-go breakfast or gift them in a pretty box for friends and family.
Make Ahead and Storage
Storing Leftovers
After making these cups, keep any leftovers stored in an airtight container in the refrigerator. They stay fresh and maintain their lovely texture for up to a week, making them perfect for quick snacks any time.
Freezing
If you want to keep your Fun No Bake Peanut Butter Oat Cups Recipe handy for longer, freezing is a fantastic option. Place them in a freezer-safe container or zip-top bag, separated by parchment paper, and freeze for up to 3 months. Just thaw in the fridge before eating.
Reheating
Since these cups are no bake and meant to be enjoyed cold or at room temperature, reheating is not necessary. Simply let frozen cups thaw in the refrigerator, or bring chilled cups to room temperature before serving for the best flavor and texture.
FAQs
Can I use crunchy peanut butter instead of creamy?
Absolutely! Crunchy peanut butter adds extra texture and a bit of nuttiness that pairs wonderfully with the oats and chocolate chips. Just be sure to mix well so the crunchy bits are evenly spread.
Are there any alternatives to honey in this recipe?
Yes! Maple syrup or agave nectar can easily replace honey and still provide the necessary sweetness and binding effect. Adjust the quantity slightly if needed to keep the mixture sticky but not too runny.
Can I add other mix-ins to the cups?
Definitely! Feel free to experiment with chopped nuts, dried fruits, seeds, or even shredded coconut for added flavor and texture. Just be mindful of the overall moisture so the cups hold together.
Is this recipe suitable for kids?
Yes, these no bake peanut butter oat cups are a great kid-friendly snack. They’re naturally sweet, packed with energy, and easy for little hands to grab. Just watch out for any peanut allergies before serving.
How do I prevent the chocolate chips from melting?
Gently folding in the mini chocolate chips at the very end, without overmixing, helps prevent melting. Also, make sure your peanut butter isn’t too warm before adding the chips, and chill the cups promptly after shaping.
Final Thoughts
There is something truly satisfying about a snack that combines simple ingredients into something irresistibly delicious with almost no effort. This Fun No Bake Peanut Butter Oat Cups Recipe is exactly that—a quick, tasty pick-me-up that you can customize and enjoy anytime. I encourage you to whip up a batch, share them with people you love, or treat yourself for an easy but fulfilling bite of peanut buttery goodness. Once you try them, they’ll become a delightful staple in your recipe box, guaranteed!
Print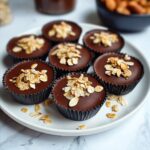
Fun No Bake Peanut Butter Oat Cups Recipe
- Prep Time: 0h 10m
- Cook Time: 0h 0m
- Total Time: 0h 40m
- Yield: 12 cups
- Category: Snack
- Method: No-Cook
- Cuisine: American
- Diet: Vegetarian
Description
These Fun No Bake Peanut Butter Oat Cups are a delightful, easy-to-make snack combining creamy peanut butter, wholesome oats, and sweet honey with a touch of chocolate. Perfect for a quick breakfast or an on-the-go treat, these cups require no baking and set quickly in the refrigerator.
Ingredients
Dry Ingredients
- 1 cup rolled oats
- 1/4 cup mini chocolate chips
- 1/4 cup ground flaxseed
Wet Ingredients
- 1/2 cup peanut butter
- 1/4 cup honey
- 1/2 teaspoon vanilla extract
Instructions
- Gather Ingredients: Start by gathering all the ingredients: 1 cup rolled oats, 1/2 cup peanut butter, 1/4 cup honey, 1/4 cup mini chocolate chips, 1/4 cup ground flaxseed, and 1/2 teaspoon vanilla extract.
- Prepare Mixing Bowl: Choose a medium-sized mixing bowl where you can comfortably combine all the ingredients.
- Mix Peanut Butter: Add the 1/2 cup of peanut butter into the bowl. If thick, warm it slightly in the microwave for 15-20 seconds to soften for easier mixing.
- Add Honey: Pour in the 1/4 cup of honey into the peanut butter.
- Add Flaxseed: Incorporate the 1/4 cup of ground flaxseed into the mixture.
- Combine Wet Ingredients: Stir thoroughly ensuring peanut butter, honey, and flaxseed are well combined.
- Add Oats: Stir in the 1 cup of rolled oats, mixing until evenly incorporated, scraping bowl sides as needed.
- Add Chocolate Chips: Gently fold in 1/4 cup mini chocolate chips without melting them.
- Prepare Muffin Tin: Lightly grease a muffin tin or silicone mold with oil or line with paper liners to prevent sticking.
- Fill Cups: Scoop mixture into muffin cups, pressing down gently to form compact cups, distributing the mix evenly.
- Chill Cups: Place muffin tin in the refrigerator and chill for at least 30 minutes until firm.
- Remove and Serve: Once set, remove cups from tin, peel liners if used, and serve immediately or store in an airtight container in the fridge for later.
Notes
- Warming peanut butter helps achieve a smoother mix but avoid overheating to prevent melting chocolate chips later.
- If you prefer a nut-free version, substitute peanut butter with sunflower seed butter.
- Store these cups in an airtight container refrigerated for up to one week.
- You can customize with different mix-ins such as dried fruits or nuts.
- Ensure the mixture is pressed firmly into the cups for the best shape retention.

