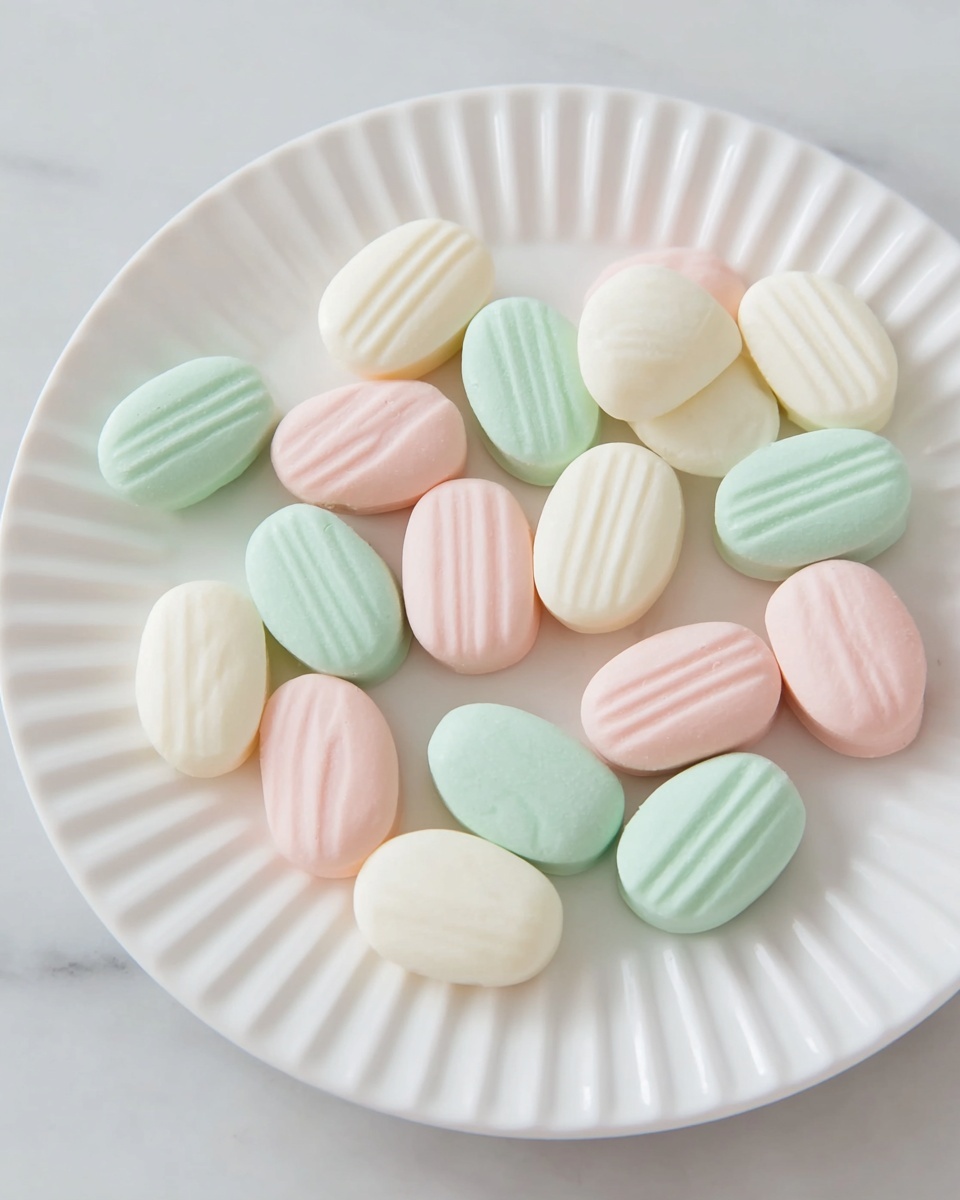
If you’re looking for a delightful, melt-in-your-mouth treat that’s both refreshing and irresistibly smooth, the Creamy Homemade Cream Cheese Mints Recipe is exactly what you need. These little gems combine the tangy richness of cream cheese with the cool burst of mint, creating candies that are creamy, sweet, and perfect for any occasion. Whether you’re serving them at a party, gifting them during the holidays, or just indulging in a personal sweet moment, these mints are guaranteed to become a fast favorite.
Ingredients You’ll Need
Creating these luscious Creamy Homemade Cream Cheese Mints Recipe candies is wonderfully simple, and every ingredient plays a crucial role in achieving the perfect balance of texture, flavor, and appearance. From the soft cream cheese that gives the mints their signature creaminess, to the powdered sugar that sweetens and thickens the mixture, each component is essential.
- Cream Cheese (8 oz, softened): The base of the mints, providing a creamy and smooth texture that melts in your mouth.
- Powdered Sugar (2-4 cups): Adjust according to how sweet or firm you prefer your mints; it also helps to make the mixture workable.
- Mint Extract (1-2 tsp): The star flavor that gives these mints their refreshing and invigorating taste; start with 1 tsp and adjust.
- Food Coloring (a few drops, optional): To add a pop of color, making your mints visually appealing without affecting the flavor.
- Granulated Sugar (1 tbsp): Used for rolling the mints, it adds a pleasant slight crunch and a hint of extra sweetness.
How to Make Creamy Homemade Cream Cheese Mints Recipe
Step 1: Prepare Your Ingredients and Workspace
Before diving in, make sure your cream cheese is softened to room temperature—this is key for getting a smooth and creamy consistency. Gather all your ingredients so everything is at your fingertips, which makes the process feel seamless and enjoyable.
Step 2: Beat the Cream Cheese
Place the softened cream cheese in a large mixing bowl and beat it with an electric mixer until it’s thoroughly smooth. This step ensures your base is creamy with no lumps so the final mints have a perfect texture.
Step 3: Incorporate the Powdered Sugar
Start adding the powdered sugar gradually, beginning with 2 cups to prevent the mixture from getting too stiff too soon. Mix on low speed until the sugar is fully incorporated and you have a sweet, moldable dough ready for flavoring.
Step 4: Add the Mint Extract
Pour in 1 teaspoon of mint extract, then mix well. Give it a taste and add more if you’d love a stronger mint flavor; this customization lets you tailor the mints to your liking perfectly.
Step 5: Optional Coloring
If you’d like to give your mints a festive or eye-catching look, add a few drops of food coloring now. Gently fold it into the mixture until it’s evenly colored, turning them into little edible works of art.
Step 6: Shape the Mints
Lightly dust your hands with powdered sugar to prevent sticking, then roll small portions of the mixture into neat, bite-sized balls. This tactile step is simple and fun, almost like playing with edible clay!
Step 7: Arrange and Coat
Place the rolled mints on a baking sheet lined with parchment paper, spacing them apart so they don’t stick together. For a delightful crunch and a little sparkle, roll each ball lightly in granulated sugar before setting them down.
Step 8: Chill Until Firm
Pop the entire baking sheet into the refrigerator for at least 30 minutes to let the mints set. This cooling time helps them hold their shape and intensifies their creamy texture when you bite in.
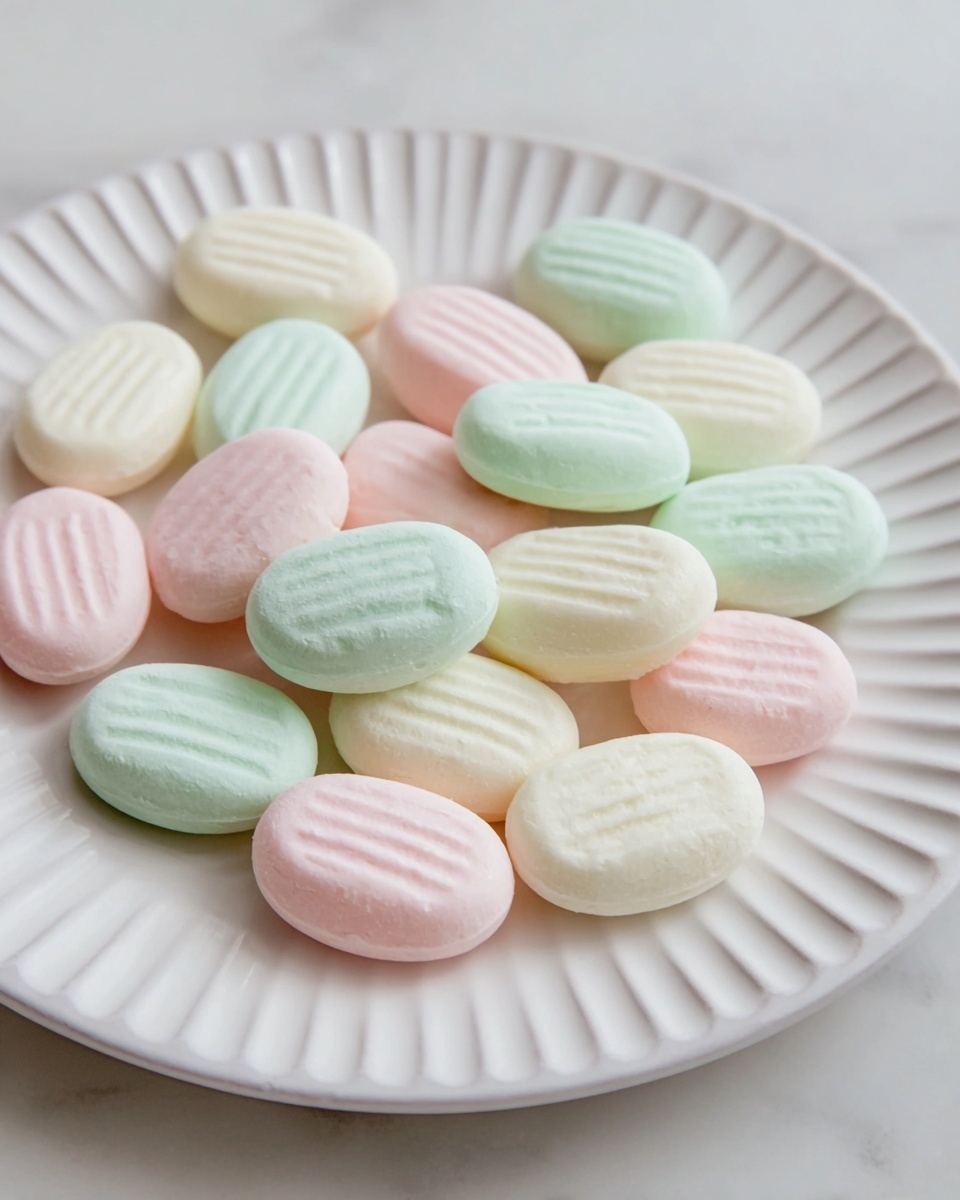
Step 9: Ready to Enjoy
Your Creamy Homemade Cream Cheese Mints Recipe is now ready to be served. Whether you arrange them in a decorative bowl or package them as charming homemade gifts, these mints are destined to impress.
Step 10: Store Leftovers Properly
Any extra mints can be stored in an airtight container in the refrigerator to maintain their freshness and creaminess for days to come.
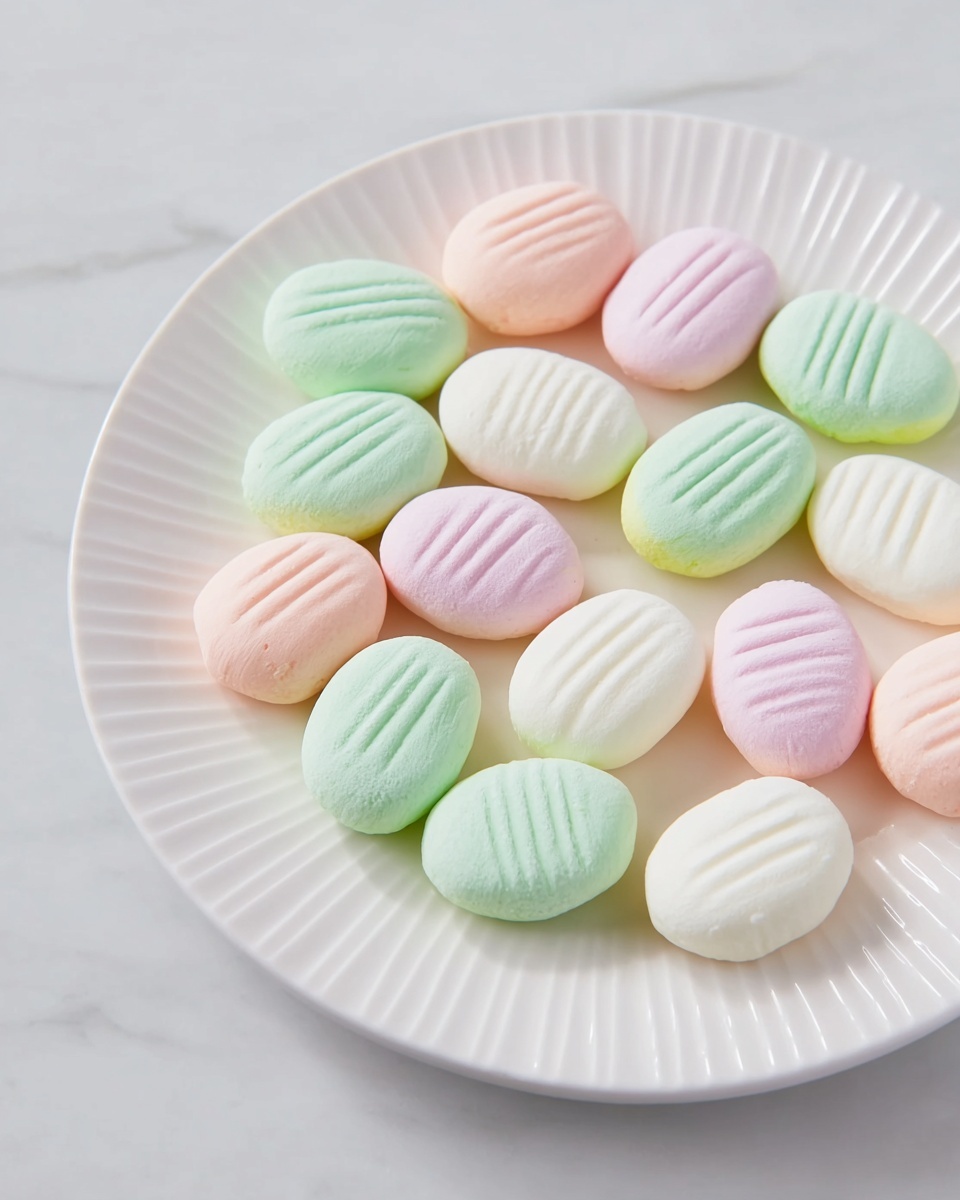
How to Serve Creamy Homemade Cream Cheese Mints Recipe
Garnishes
While these mints are perfect on their own, you can elevate them by serving with a sprinkle of finely chopped fresh mint leaves on the side for a burst of natural greenery and an extra fresh aroma.
Side Dishes
These creamy gems pair beautifully with a hot cup of herbal tea or coffee, helping to cleanse the palate and add a sweet finish to any meal or snack time.
Creative Ways to Present
For a festive touch, try arranging the mints in small pastel paper cups or wrapping them in cellophane and tying with colorful ribbons—perfect for party favors or thoughtful homemade gifts that everyone will adore.
Make Ahead and Storage
Storing Leftovers
Store leftover mints in an airtight container in the fridge, where they will stay fresh and maintain their creamy texture for up to one week. This means you can make a batch ahead of time without worry.
Freezing
If you want to keep these treats longer, freezing is a great option. Place the mints in a single layer on a baking sheet to freeze initially, then transfer them to a freezer bag or container. They can last up to 2 months frozen without losing flavor or texture.
Reheating
Because these mints are best enjoyed chilled, simply thaw frozen mints in the refrigerator before serving. Avoid reheating as this will alter their texture and melt the cream cheese base.
FAQs
Can I use flavored cream cheese instead of plain?
It’s best to stick with plain cream cheese for this Creamy Homemade Cream Cheese Mints Recipe to keep the mint flavor pure and balanced. Flavored cream cheeses might compete with or overpower the mint extract.
How do I know when to stop adding powdered sugar?
The mixture should be pliable enough to roll into balls without sticking excessively to your hands. Start with 2 cups and add more as needed until you reach this consistency, keeping the mints creamy but firm.
Can I use a different extract if I don’t like mint?
Absolutely! While mint is classic, you could experiment with peppermint, spearmint, or other flavors like lemon or orange extracts to create your own unique twist.
Why do my mints sometimes turn out too soft?
If your mints are too soft, it might be due to insufficient powdered sugar or not chilling them long enough. Adding a bit more sugar and refrigerating thoroughly will help firm them up.
How long will these mints stay fresh?
Stored properly in the refrigerator, these mints will stay fresh and delicious for about one week. For longer storage, freezing is your best option to preserve their taste and texture.
Final Thoughts
Making the Creamy Homemade Cream Cheese Mints Recipe is such a rewarding experience; the result is not just a treat but a charming token of homemade love. They are simple to prepare, delightful to eat, and perfect for sharing with friends and family. So go on, dive into this recipe and discover just how enchanting a little homemade mint candy can be!
Print
Creamy Homemade Cream Cheese Mints Recipe
- Prep Time: 15 minutes
- Cook Time: 0 minutes
- Total Time: 45 minutes
- Yield: 20 pieces
- Category: Dessert
- Method: No-Cook
- Cuisine: American
- Diet: Vegetarian
Description
These creamy homemade cream cheese mints are a delightful and easy-to-make treat perfect for gift-giving or serving at gatherings. Softened cream cheese is blended with powdered sugar and refreshing mint extract, then shaped into bite-sized mints and chilled until firm. Optional food coloring and a dusting of granulated sugar add visual appeal and a touch of sweetness.
Ingredients
Main Ingredients
- 8 oz Cream Cheese (Softened to room temperature)
- 2–4 cups Powdered Sugar (Adjust based on desired sweetness and consistency)
- 1–2 tsp Mint Extract (Start with 1 tsp and adjust to taste)
- A few drops Food Coloring (Optional, for visual appeal)
- 1 tbsp Granulated Sugar (For rolling the mints)
Instructions
- Prepare Ingredients and Workspace: Gather all ingredients and ensure the cream cheese is softened to room temperature for easy mixing.
- Beat Cream Cheese: Use an electric mixer to beat the softened cream cheese in a large mixing bowl until smooth and creamy.
- Add Powdered Sugar: Gradually incorporate powdered sugar, starting with 2 cups, mixing on low speed until fully combined and the mixture becomes a dough-like consistency.
- Mix in Mint Extract: Add 1 teaspoon of mint extract, mixing well. Taste and adjust by adding up to 2 teaspoons if desired for a stronger mint flavor.
- Add Food Coloring (Optional): If you want colored mints, add a few drops of food coloring and fold it into the mixture evenly.
- Shape Mints: Dust your hands with some powdered sugar to prevent sticking, then roll small portions of the mixture into bite-sized balls.
- Arrange on Baking Sheet: Place the rolled mints spaced apart on a baking sheet lined with parchment paper to prevent sticking.
- Coat with Granulated Sugar: Optionally, roll each mint ball in granulated sugar to add texture and extra sweetness.
- Chill Mints: Refrigerate the baking sheet for at least 30 minutes, or until the mints are firm and set.
- Serve or Package: Serve the mints in a decorative bowl or package them attractively as gifts.
- Store Leftovers: Keep any leftover mints in an airtight container in the refrigerator to maintain freshness for up to one week.
Notes
- Adjust the powdered sugar quantity based on your desired mint sweetness and consistency.
- Make sure the cream cheese is fully softened to ensure smooth mixing.
- Optional food coloring adds a festive touch but can be omitted for plain white mints.
- Rolling mints in granulated sugar is optional but gives a nice texture contrast.
- Store mints refrigerated in an airtight container to prevent drying out.


