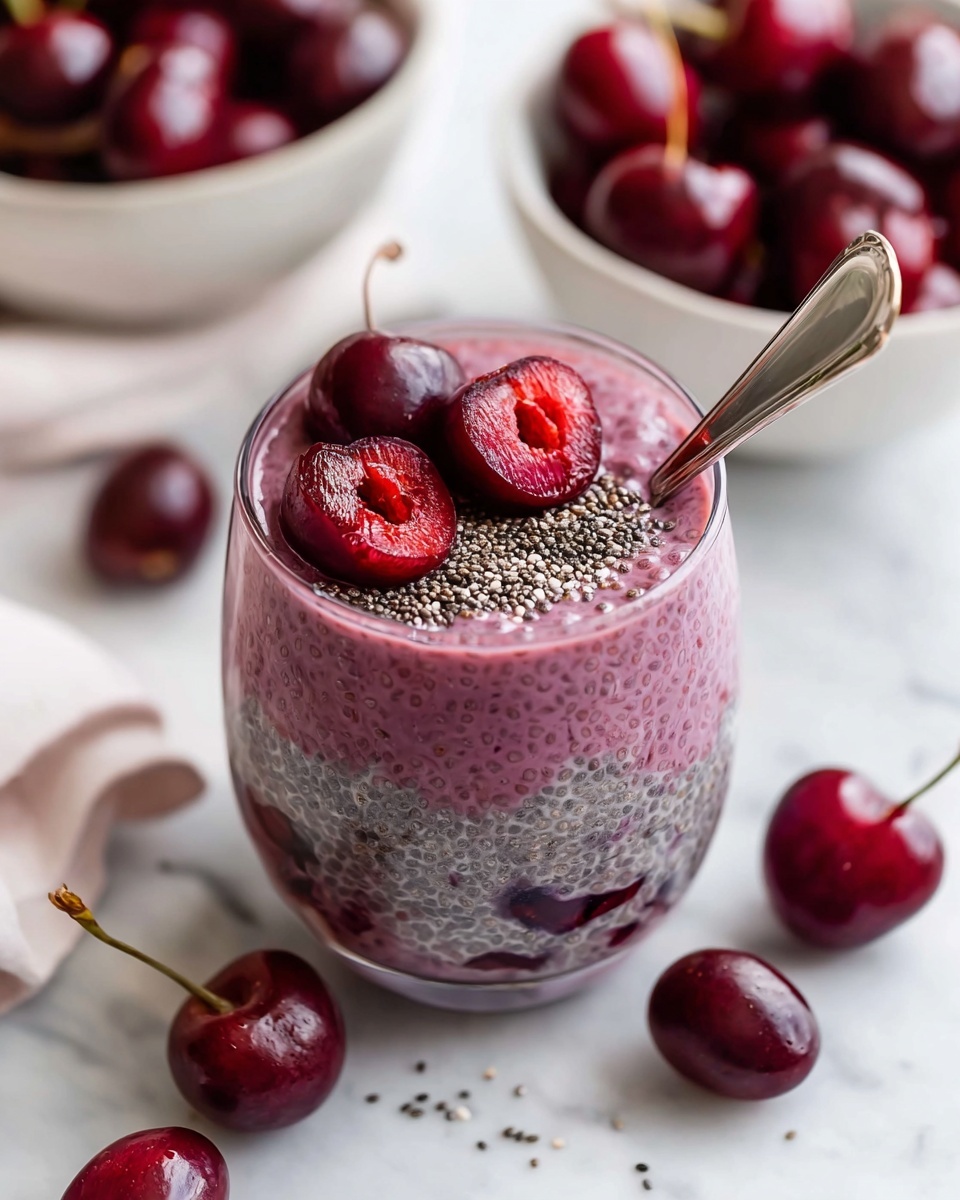
If you’re looking for a naturally sweet, nutritious treat that feels like a cozy hug in a bowl, this Cherry Chia Pudding with Fresh Cherry Topping Recipe is an absolute delight. The luscious creaminess of chia seeds soaked in dairy-free milk mingles perfectly with the vibrant, slightly tart cherry topping. It’s both satisfying and refreshingly light, making it a perfect breakfast, snack, or dessert that will brighten your day with every spoonful.
Ingredients You’ll Need
The magic of this recipe lies in its simplicity—all ingredients work together to create a balance of flavors and textures that’s truly irresistible. Each element plays a key role, from the little pop of sweetness to the lovely natural color and nutrients.
- Frozen cherries: These provide a bright, fruity burst and make a naturally syrupy topping when simmered down.
- Dairy-free milk: A smooth base for the pudding, perfect for a creamy texture without dairy.
- Maple syrup: Adds gentle sweetness and a subtle depth of flavor that complements the cherries beautifully.
- Almond extract: Just a hint to enhance the nutty undertones and add aromatic warmth.
- Whole chia seeds: The star ingredient that thickens into a luscious pudding while packing in fiber and omega-3s.
How to Make Cherry Chia Pudding with Fresh Cherry Topping Recipe
Step 1: Prepare Chia Pudding Base
Start by combining your dairy-free milk with 1 teaspoon of maple syrup and the almond extract in a bowl. Whisk these together thoroughly until everything is smoothly blended. This base is where your chia seeds will soak and expand, so it’s important to get a nice mix.
Step 2: Add Chia Seeds
Next, stir in the whole chia seeds. Whisk vigorously for about 1 to 2 minutes to distribute the seeds evenly and prevent them from clumping together. Let this mixture rest for about 5 minutes, then give it another good whisk to keep the pudding nice and smooth as it begins to thicken.
Step 3: Chill Pudding Base
Cover your bowl with plastic wrap or a lid and pop it into the refrigerator for at least 4 hours. For best results, leave it overnight so the pudding reaches that perfect creamy, spoonable consistency. The chia seeds will absorb the liquid and transform into a delightful, slightly gelled pudding.
Step 4: Prepare Cherry Topping
While your chia pudding chills, get the topping ready. Combine the frozen cherries with the remaining 1 teaspoon of maple syrup in a small saucepan. Gently simmer over medium-low heat, stirring occasionally, for 8 to 12 minutes. You’ll notice the cherries soften and their juices turn into a delicious, slightly syrupy sauce.
Step 5: Cool Cherry Topping
Remove the saucepan from the heat once the cherries have softened and the liquid has thickened slightly. Allow the cherry topping to cool completely. For quicker cooling, transfer it to a separate bowl and leave it at room temperature or in the fridge.
Step 6: Assemble and Serve
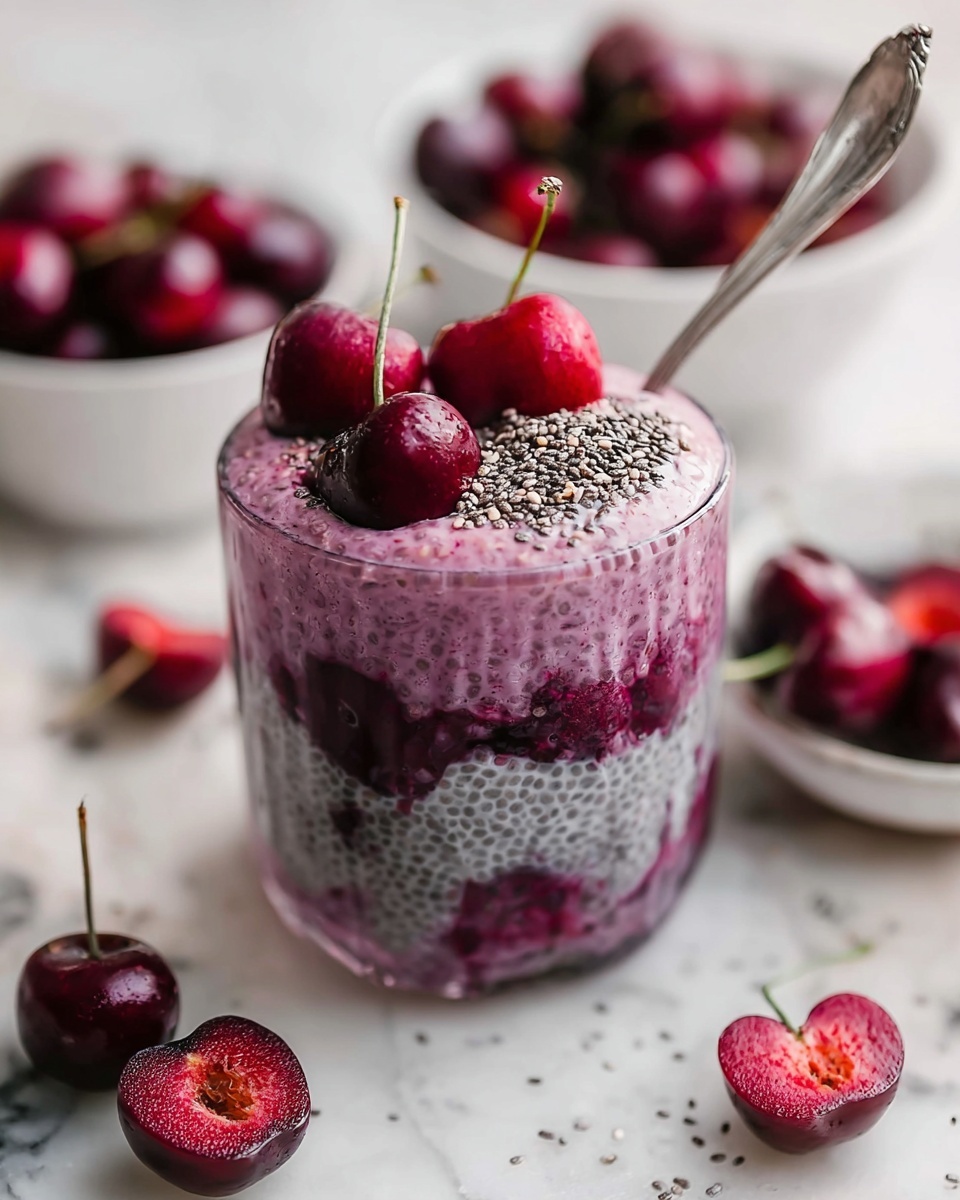
Spoon your chilled chia pudding into pretty serving glasses or bowls. Layer generously with the cool cherry topping. If you like, create a couple layers for a more dramatic presentation. Serve immediately for the freshest flavor and enjoy each heavenly bite!
How to Serve Cherry Chia Pudding with Fresh Cherry Topping Recipe
Garnishes
Adding a garnish can take your cherry chia pudding to the next level in both look and taste. Try sprinkling sliced almonds or chopped pistachios on top for extra crunch, or a few mint leaves for a burst of fresh color and aroma. A light dusting of cinnamon can also add an inviting warmth.
Side Dishes
This pudding pairs wonderfully with light and fresh sides like a crisp green salad or a bowl of mixed berries. It also complements a morning cup of herbal tea or a bold black coffee, making it a versatile addition to any meal time.
Creative Ways to Present
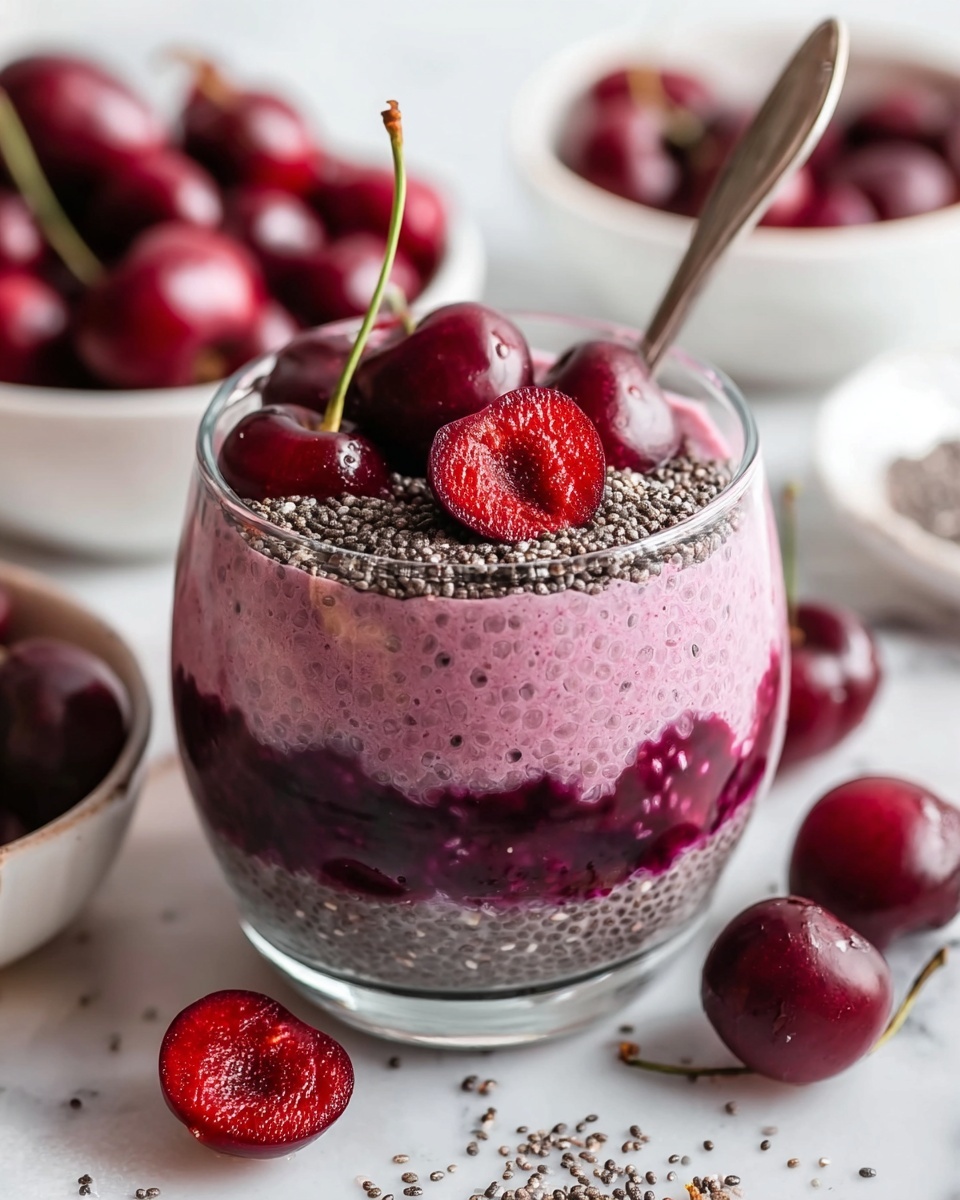
For a special occasion, layer your Cherry Chia Pudding with Fresh Cherry Topping Recipe in a clear glass jar or parfait glass to showcase the beautiful contrast of deep reds and creamy pudding. You can also top it with whipped coconut cream or swirl in a drizzle of chocolate sauce for an indulgent twist.
Make Ahead and Storage
Storing Leftovers
Leftover cherry chia pudding keeps beautifully in the fridge for up to 3 days. Store it in an airtight container to preserve freshness. Keep the cherry topping separate if you prefer to maintain its texture; otherwise, layering both together still tastes delicious the next day.
Freezing
Freezing isn’t the best option for this pudding because chia seeds can change texture when frozen and thawed. It’s better enjoyed fresh or refrigerated to maintain the ideal creamy consistency.
Reheating
This pudding is best served cold or at room temperature. If you prefer a warmer treat, let refrigerated pudding sit for a few minutes to come closer to room temperature, but avoid microwaving as it can alter the texture and cause the chia to lose its thickening power.
FAQs
Can I use fresh cherries instead of frozen?
Absolutely! Fresh cherries work beautifully in this recipe. Just pit and halve them before simmering for the topping. Using fresh will give you a slightly different texture but the same wonderful flavor.
Is this recipe suitable for vegans?
Yes, it is! Using dairy-free milk and maple syrup keeps this recipe entirely plant-based, making it a perfect vegan-friendly treat.
Can I substitute the maple syrup for another sweetener?
Sure thing! You can use honey, agave nectar, or even a few drops of liquid stevia, but keep in mind that the maple syrup adds a unique depth that pairs perfectly with cherries.
What other toppings can I add?
Feel free to get creative! Fresh fruits like sliced bananas or kiwi, toasted coconut flakes, or even a spoonful of nut butter can add flavor and texture to your pudding.
How thick should the chia pudding be before serving?
The pudding should be thick enough to hold its shape on a spoon without being gelatinous or overly stiff — think creamy and spoonable, much like gelatin dessert but dairy-free and packed with nutrition.
Final Thoughts
There’s something genuinely comforting about a bowl of Cherry Chia Pudding with Fresh Cherry Topping Recipe that’s both nourishing and luscious. Simple ingredients transform into a vibrant dish you’ll want to make again and again. Give it a try—you might just discover your new favorite anytime treat!
Print
Cherry Chia Pudding with Fresh Cherry Topping Recipe
- Prep Time: PT10M
- Cook Time: PT10M
- Total Time: PT4H20M
- Yield: 2 servings
- Category: Dessert
- Method: Stovetop
- Cuisine: American
- Diet: Vegan
Description
This Cherry Chia Pudding is a refreshing and nutritious dairy-free dessert or snack, featuring a creamy chia pudding base sweetened with maple syrup and almond extract, layered with a warm, naturally sweetened cherry topping made from simmered frozen cherries. Perfect for a healthy breakfast or light dessert, it requires minimal prep and is vegan-friendly.
Ingredients
Chia Pudding Base
- ½ cup (125 ml) dairy-free milk
- 2 teaspoons maple syrup (divided)
- ⅛ teaspoon almond extract
- 3 tablespoons (30 g) whole chia seeds
Cherry Topping
- ½ cup (70 g) frozen cherries
- 1 teaspoon maple syrup
Instructions
- Prepare Chia Pudding Base: In a bowl, combine the dairy-free milk, 1 teaspoon of maple syrup, and ⅛ teaspoon almond extract. Whisk thoroughly until all ingredients are well combined to create a smooth liquid base.
- Add Chia Seeds: Add the whole chia seeds into the mixture, whisking vigorously for 1-2 minutes to ensure even dispersion and to prevent any clumping. Let the mixture sit for 5 minutes to allow seeds to start absorbing liquid, then whisk again to break up any lumps.
- Chill Pudding Base: Cover the bowl and refrigerate for at least 4 hours, preferably overnight, until the pudding thickens to a creamy, spoonable consistency.
- Prepare Cherry Topping: In a small saucepan over medium-low heat, combine the frozen cherries and the remaining 1 teaspoon maple syrup. Simmer gently for 8-12 minutes, stirring occasionally until the cherries soften and release their juices, forming a slightly syrupy texture.
- Cool Cherry Topping: Remove the saucepan from heat and allow the cherry topping to cool completely. To speed up cooling, transfer the topping to a separate bowl.
- Assemble and Serve: Spoon the chilled chia pudding into serving glasses or bowls. Layer with the cooled cherry topping. Repeat layering if desired. Serve immediately and enjoy the combination of creamy pudding and luscious cherry topping.
Notes
- For best texture, soak the chia pudding overnight to allow full gelation.
- You can substitute maple syrup with honey or agave nectar if preferred.
- Use any type of dairy-free milk such as almond, coconut, or oat milk.
- The almond extract is optional but adds a lovely nutty aroma enhancing the flavor.
- The cherry topping can be made a day ahead and refrigerated.

