If you have ever dreamed of creating a dessert that perfectly balances creamy richness with deep, chocolatey goodness, this Homemade Chocolate Ice Cream Recipe is exactly what you need. It brings together simple, wholesome ingredients like heavy cream, cocoa powder, and semisweet chocolate to produce an irresistibly smooth and indulgent treat. Whether shared on a warm evening or savored solo as an everyday luxury, this recipe guarantees a luscious, velvety experience that stays true to that classic chocolate ice cream flavor we all crave.
Ingredients You’ll Need
Crafting this homemade chocolate ice cream is surprisingly straightforward thanks to a handful of carefully chosen ingredients. Each one plays a crucial role, enhancing the texture, flavor, and richness of the final creaminess you’ll adore.
- 2 cups heavy cream: Provides the luxurious creaminess and smooth mouthfeel that makes ice cream truly indulgent.
- 1 cup whole milk: Balances the richness of the cream and keeps the texture light yet satisfying.
- ¾ cup granulated sugar: Sweetens the mixture just right while helping achieve a smooth finish.
- ¾ cup unsweetened cocoa powder: Gives the ice cream its unmistakable deep chocolate flavor and rich color.
- 4 ounces semisweet chocolate (chopped): Melts into the mix, adding extra depth and a silky texture.
- 1 teaspoon vanilla extract: Enhances all the chocolate notes with a warm, fragrant background.
- ⅛ teaspoon salt: Subtly intensifies the chocolate flavors and balances sweetness.
How to Make Homemade Chocolate Ice Cream Recipe
Step 1: Create the Chocolate Base
Begin by whisking together the cocoa powder, granulated sugar, and salt in a medium saucepan. Slowly add the whole milk, stirring continuously until smooth and lump-free. This step ensures a luscious, uniform chocolate base that’s key to your ice cream’s texture and richness.
Step 2: Heat Gently
Place the saucepan over medium heat, carefully stirring the mixture regularly to avoid any scorching. Heat it until the mixture is hot, but do not let it reach a boil. This controlled warming helps meld all the ingredients and prepares the base to perfectly melt the next ingredient.
Step 3: Melt the Chocolate
Remove the saucepan from the heat and stir in the chopped semisweet chocolate until it’s completely melted and smooth. This step is where your ice cream gains its velvety, glossy texture and that signature chocolate richness.
Step 4: Add Cream and Vanilla
Stir in the heavy cream and vanilla extract, folding them gently into the warm chocolate base. These final additions bring creaminess and delicate aromatic notes that elevate this Homemade Chocolate Ice Cream Recipe beyond ordinary.
Step 5: Chill the Mixture
Allow the combined mixture to cool to room temperature before covering it with plastic wrap. Refrigerate for at least 4 hours, or better yet, overnight. Chilling is vital because it thickens the base and lets the flavors meld beautifully, setting the foundation for creamy, smooth ice cream after churning.
Step 6: Churn to Perfection
Once thoroughly chilled, pour the mixture into your ice cream maker and churn according to the manufacturer’s instructions—usually around 20 to 25 minutes. This process introduces air, transforming the thickened base into a delightfully fluffy, scoopable treat.
Step 7: Freeze for Texture
Transfer the churned ice cream into a lidded container and freeze for at least 2 hours to firm up. This final step ensures your ice cream holds its shape beautifully and delivers that perfect creamy yet scoopable consistency we all love.
How to Serve Homemade Chocolate Ice Cream Recipe
Garnishes
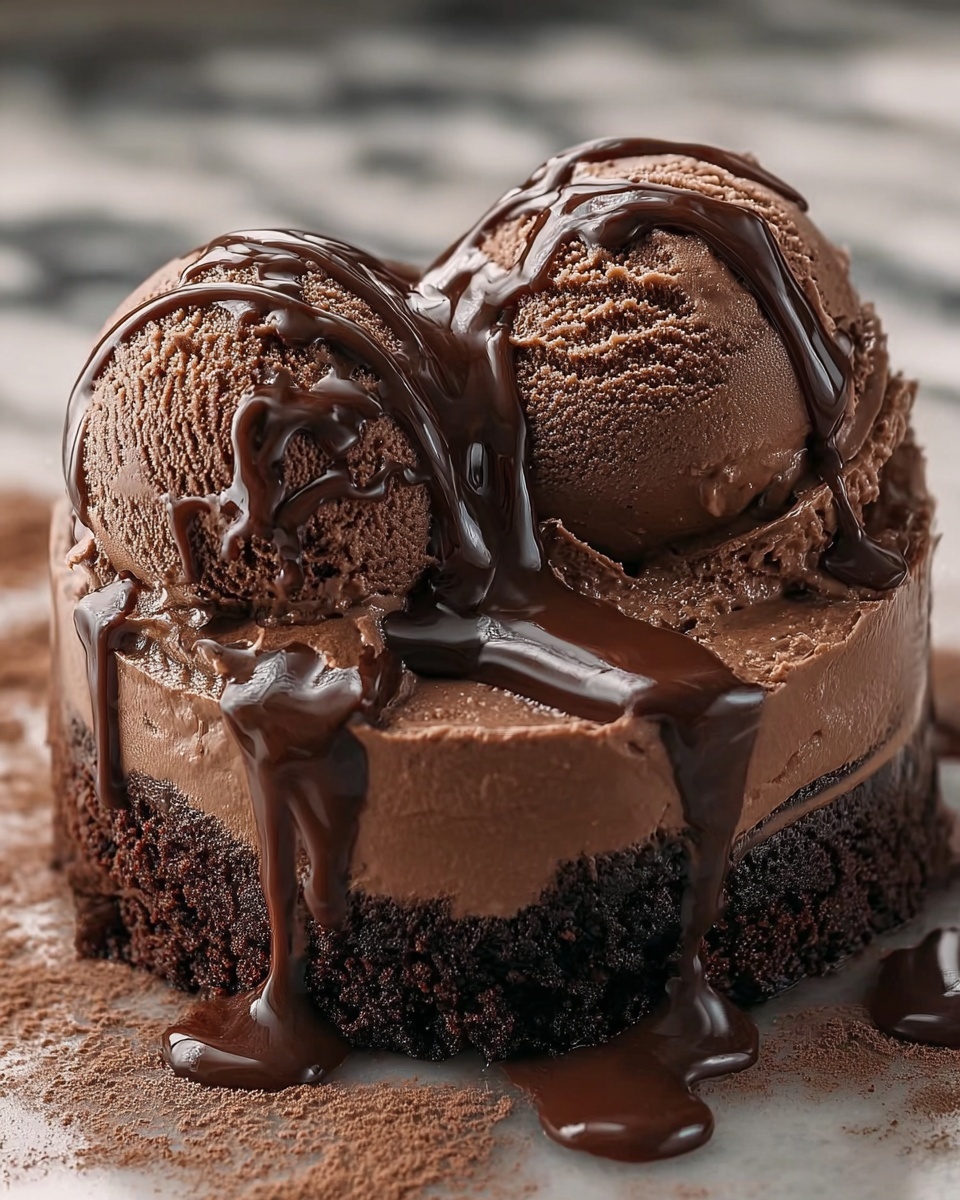
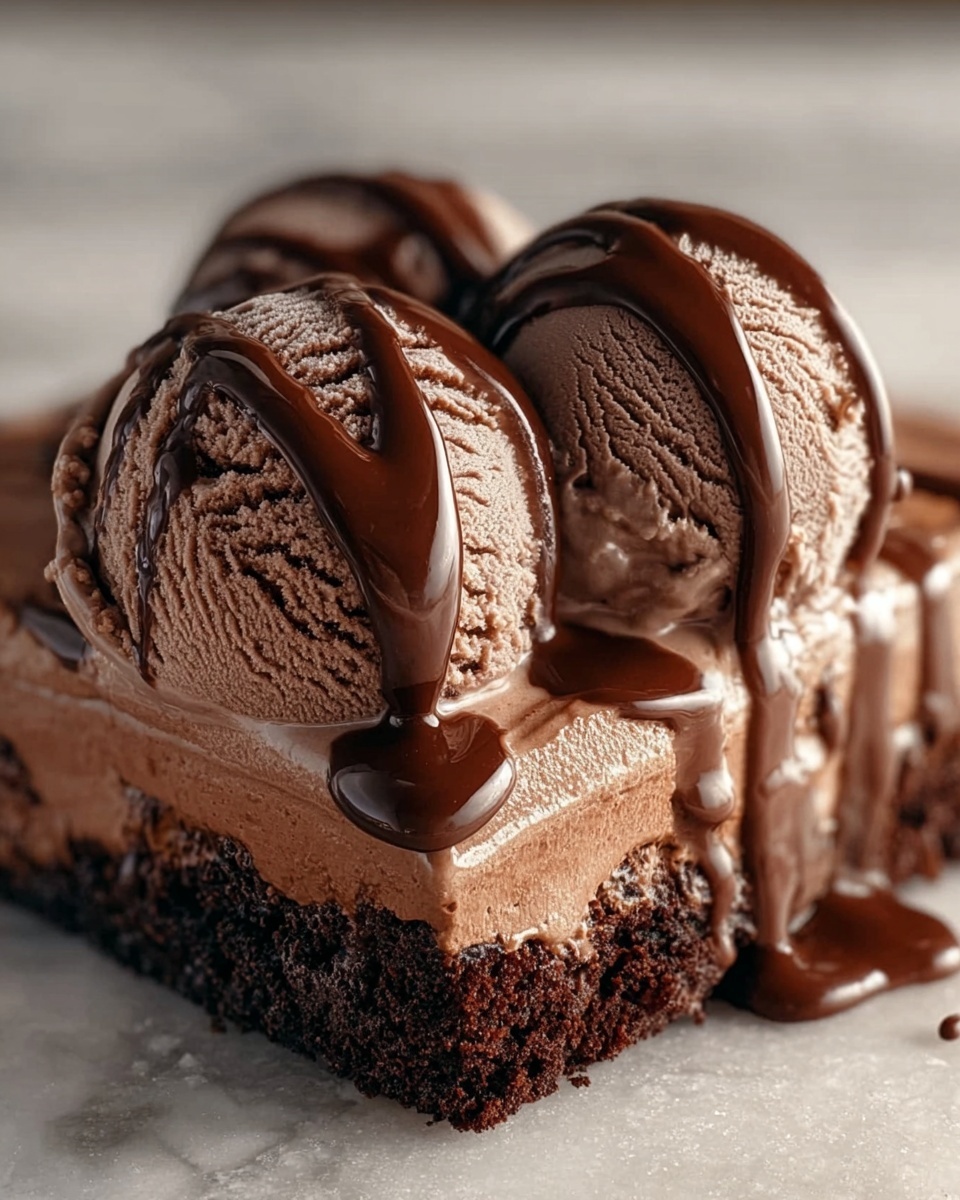
Simple toppings like chocolate shavings, a dusting of cocoa powder, or a sprinkle of chopped nuts add texture and visual appeal. Drizzling some warm caramel or a raspberry coulis over a scoop can beautifully complement the chocolate’s depth and surprise your taste buds.
Side Dishes
This ice cream pairs wonderfully with fresh fruit like strawberries or bananas, crisp waffle cones, or even a warm brownie. Whether spooned alongside a slice of cake or wrapped in a cone, these accompaniments make each bite an unforgettable experience.
Creative Ways to Present
Think beyond the bowl by using this ice cream in milkshakes, as a filling for whoopie pies, or layering it in parfaits with whipped cream and cookie crumbs. Its versatility invites fun and creativity in both classic and unexpected desserts.
Make Ahead and Storage
Storing Leftovers
Keep any leftover ice cream tightly sealed in an airtight container to prevent freezer burn and preserve its fresh, creamy texture. Stored properly, it will remain delicious for up to 2 weeks, making it easy to enjoy at your own pace.
Freezing
Freeze your homemade chocolate ice cream in a shallow, covered container to encourage even freezing. This step avoids hard freezing on the surface and maintains the beautifully soft scoopable texture you worked so hard to achieve.
Reheating
Unlike most dishes, ice cream isn’t meant to be reheated. Instead, let it sit at room temperature for 5 to 10 minutes before scooping to soften it just enough for serving without melting it completely.
FAQs
Can I make this recipe without an ice cream maker?
Absolutely! After chilling the mixture, pour it into a shallow container and place it in the freezer. Stir vigorously every 30 minutes for 2–3 hours. This manual method helps break up ice crystals and results in a delicious homemade chocolate ice cream texture.
Can I use dark chocolate instead of semisweet?
Yes, swapping semisweet chocolate for dark chocolate will deepen the flavor and add a richer, more intense chocolate taste. Just be mindful that darker chocolate can be more bitter, so you might want to slightly adjust the sugar to balance it out.
Why is it important to chill the mixture before churning?
Chilling the base allows the fats to thicken and the flavors to develop fully. This step is key to achieving a smooth, creamy ice cream that churns evenly without icy pockets.
Can I add mix-ins like nuts or chocolate chips?
Definitely! Add your favorite mix-ins during the last 5 minutes of churning to distribute them evenly without overwhelming the base. This way, you get delightful bursts of texture in every bite.
Is this recipe suitable for vegetarians?
Yes, this Homemade Chocolate Ice Cream Recipe is completely vegetarian-friendly, using dairy-based ingredients with no animal gelatin or other non-vegetarian additives.
Final Thoughts
This Homemade Chocolate Ice Cream Recipe is more than just a dessert; it’s a celebration of chocolate’s creamy, comforting magic done simply and elegantly right in your own kitchen. I encourage you to give it a try—you might find it becomes your go-to recipe whenever you want to indulge in a truly delightful treat that beats store-bought options every time.
Print
Homemade Chocolate Ice Cream Recipe
- Prep Time: 10 minutes
- Cook Time: 10 minutes
- Total Time: 4 hours 20 minutes
- Yield: 8 servings
- Category: Dessert
- Method: Freezing
- Cuisine: American
- Diet: Vegetarian
Description
This homemade chocolate ice cream recipe offers a creamy, rich, and indulgent dessert made from scratch with simple ingredients like cocoa powder, semisweet chocolate, and vanilla. Perfect for chocolate lovers, it requires chilling and churning in an ice cream maker to achieve a smooth and luscious texture without the use of eggs.
Ingredients
Ice Cream Base
- 2 cups heavy cream
- 1 cup whole milk
- ¾ cup granulated sugar
- ¾ cup unsweetened cocoa powder
- 4 ounces semisweet chocolate, chopped
- 1 teaspoon vanilla extract
- ⅛ teaspoon salt
Instructions
- Mix Dry Ingredients: In a medium saucepan, whisk together the cocoa powder, granulated sugar, and salt until well combined.
- Add Milk: Gradually whisk in the whole milk until the mixture is smooth with no lumps of cocoa powder.
- Heat Mixture: Place the saucepan over medium heat and cook, stirring frequently, until the mixture is hot but not boiling to dissolve the sugar and cocoa completely.
- Melt Chocolate: Remove the saucepan from heat and stir in the chopped semisweet chocolate until fully melted and the mixture is silky smooth.
- Add Cream and Vanilla: Stir in the heavy cream and vanilla extract to enrich the base and add flavor.
- Cool and Chill: Let the ice cream mixture cool to room temperature, then cover and refrigerate for at least 4 hours or overnight to chill thoroughly.
- Churn Ice Cream: Pour the chilled mixture into an ice cream maker and churn according to your machine’s instructions, typically 20 to 25 minutes, until it reaches a soft-serve consistency.
- Freeze to Set: Transfer the churned ice cream into a lidded container and freeze for at least 2 hours for a firmer texture before serving.
Notes
- For a deeper chocolate flavor, substitute semisweet chocolate with dark chocolate or add a tablespoon of espresso powder to the mixture.
- If you don’t have an ice cream maker, pour the chilled mixture into a shallow container and freeze, stirring vigorously every 30 minutes for 2–3 hours to break up ice crystals and mimic churning.


