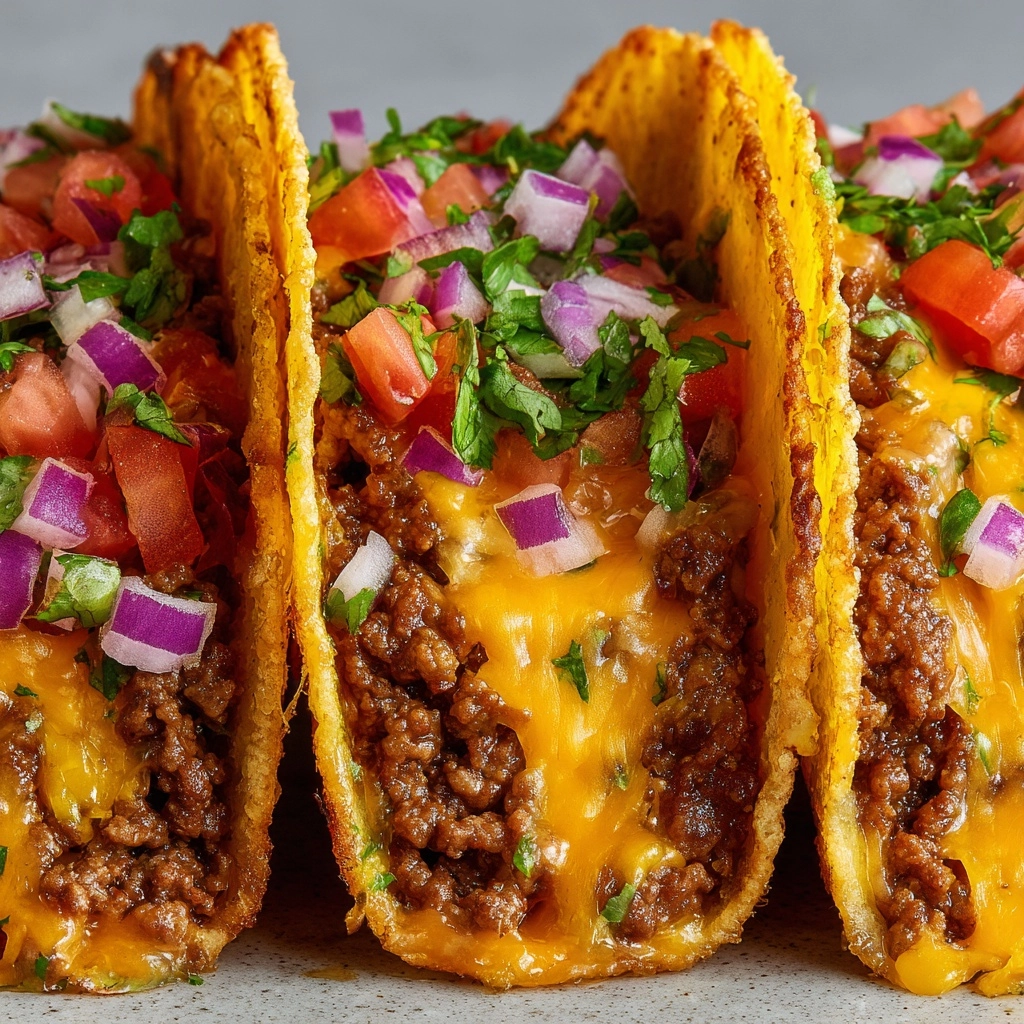
If you’ve ever wished you could hold all the flavors of your favorite loaded taco in your hand—with melty cheese, savory beef, a creamy, tangy touch, and just the right amount of kick—let me introduce you to Loaded Cheesy Pocket Tacos. These golden-baked beauties aren’t just a weeknight dinner win; they’re pure edible joy, with a crispy crust that gives way to a gooey, flavor-packed center. You’ll be amazed at how quickly they disappear, whether you’re feeding a crowd or enjoying an easy dinner with the family.
Ingredients You’ll Need
The magic behind Loaded Cheesy Pocket Tacos is how a handful of humble ingredients comes together to make something truly craveable. Each plays a simple yet essential role, from juicy beef and tangy salsa to that irresistibly flaky biscuit crust.
- Ground beef (1 pound): Delivers hearty, savory depth as the taco filling foundation.
- Small onion (diced): Adds a subtle sweetness and savoriness, plus just the right amount of juiciness to the beef mixture.
- Taco seasoning mix (1 packet): The shortcut to bold, classic taco flavor in every bite.
- Water (1/3 cup): Helps the seasoning coat the beef and creates a saucy, rich filling.
- Shredded cheddar cheese (1 cup): Melts beautifully for sharp, creamy richness.
- Shredded Monterey Jack cheese (1 cup): Brings mild, ultra-gooey melt-worthiness to the mix.
- Sour cream (1/2 cup): Adds cool creaminess that balances out the spices perfectly.
- Salsa (1/2 cup): Brings a pop of color, flavor, and a little extra kick—choose your favorite style!
- Canned refried beans (1/2 cup, optional): Makes each pocket extra hearty and satisfying, especially if you love a creamy center.
- Refrigerated large biscuits (1 tube, 8-count): The easy, flaky dough that wraps it all up into a convenient handheld treat.
- Melted butter (1 tablespoon): Brushed on top for irresistible golden color and rich finish.
- Garlic powder (1/2 teaspoon): Gives each pocket an aromatic, savory boost that will make your kitchen smell amazing.
- Chopped fresh cilantro or green onions (optional): Adds freshness and a bright, colorful finish.
How to Make Loaded Cheesy Pocket Tacos
Step 1: Prep the Oven and Baking Sheet
Get things started by preheating your oven to 375°F. Line a baking sheet with parchment paper so your Loaded Cheesy Pocket Tacos won’t stick and will bake up with beautifully crisp bottoms—plus, cleanup is a breeze.
Step 2: Cook the Beef and Onions
In a skillet over medium heat, cook the ground beef and diced onion together. Stir often until the beef is browned and crumbly, and the onion is soft and slightly golden. This only takes about 6 to 8 minutes. Drain off any excess fat once it’s cooked for a less greasy filling.
Step 3: Season the Taco Filling
Sprinkle in the taco seasoning, then pour in the water and stir well. Let it simmer for 2 to 3 minutes: the beef will soak up all those spices, thickening into the ultimate taco filling. Don’t be afraid to taste and adjust the seasoning to your liking!
Step 4: Flatten the Biscuit Dough
Pop open your tube of refrigerated biscuits and, on a lightly floured surface, gently press or roll each one into a circle about 5 to 6 inches wide. You’re aiming for a thin, even round that will hold lots of delicious fillings—and will fold over without tearing.
Step 5: Fill the Pockets
Here’s where the Loaded Cheesy Pocket Tacos come alive! On half of each biscuit round, start with a spoonful of refried beans if you like (it’s optional but so creamy). Pile on a generous scoop of taco meat, a dollop of sour cream, and big handfuls of both shredded cheeses. Finish with a spoonful of salsa for zesty flair.
Step 6: Fold and Seal
Carefully fold the dough over the filling, creating a half-moon shape. Use a fork to crimp the edges, pressing firmly to seal in all that cheesy, savory goodness. Don’t worry if a little bit of cheese sneaks out—the best bites always do!
Step 7: Brush and Bake
Mix the melted butter with garlic powder, then brush the tops of each pocket. This step makes the tops turn a wonderful golden color and infuses every bite with garlicky richness. Pop the tray in the oven and bake for 12 to 15 minutes, until the pockets are deeply golden and you can smell pure taco heaven.
Step 8: Cool and Garnish
Let your Loaded Cheesy Pocket Tacos cool for just a few minutes before serving. This makes them easier to handle and helps the cheese set a bit. If you’re in the mood, sprinkle with chopped fresh cilantro or green onions for extra freshness and a pop of color.
How to Serve Loaded Cheesy Pocket Tacos

Garnishes
The fun of Loaded Cheesy Pocket Tacos is all about those little finishing touches! Scatter fresh cilantro or green onions over the top before serving, or add sliced jalapeños for extra heat. A dollop of sour cream or extra salsa on the side can never hurt.
Side Dishes
Pair these pocket tacos with a simple side salad, crunchy tortilla chips and guac, or classic Mexican rice for a truly complete meal. They also shine next to a bright corn salad or sautéed peppers if you’re feeling creative.
Creative Ways to Present
Try serving Loaded Cheesy Pocket Tacos on a big platter with little bowls of salsa, guacamole, and pickled jalapeños so everyone can build their perfect bite. For game day, slice them into halves or quarters for easy sharing. They’re finger food magic at parties!
Make Ahead and Storage
Storing Leftovers
Leftover Loaded Cheesy Pocket Tacos keep beautifully—just let them cool completely, then store in an airtight container in the refrigerator. They’ll stay delicious for up to three days, making lunch the next day something special to look forward to.
Freezing
These hand pies were made for freezing! Once your pocket tacos are completely cool, wrap each one in plastic wrap or foil, then place in a freezer-safe bag or container. They can be frozen for up to 2 months and taste freshly baked when reheated.
Reheating
To enjoy again, pop refrigerated or thawed pocket tacos in a 350°F oven (or toaster oven or air fryer) for about 10 minutes, until heated through and crispy. Microwaving is quick, but for best flavor and texture, the oven method is your best friend.
FAQs
Can I make Loaded Cheesy Pocket Tacos vegetarian?
Absolutely! Simply swap the ground beef for cooked black beans, pinto beans, or even a plant-based ground “meat” alternative. Add extra veggies like sautéed peppers or mushrooms for even more flavor.
What should I do if my biscuits rip when I’m flattening them?
If a biscuit tears, don’t fret! Just pinch the dough back together and keep going. A little flour on your hands and surface can help prevent sticking and tearing, making the dough much easier to handle.
Can I assemble Loaded Cheesy Pocket Tacos ahead of time?
Yes—you can assemble the pockets up to a day in advance, arrange them on a baking sheet, cover tightly, and refrigerate. Bake just before serving for fresh, melty results anytime you want.
How can I make these spicier?
For a bolder kick, stir some diced pickled jalapeños or chopped chipotles in adobo into the taco filling, or use a spicier salsa in the mix. You can also add hot sauce directly to the filling before sealing up the pockets.
What dipping sauces work well with Loaded Cheesy Pocket Tacos?
Try classic salsa, creamy guacamole, chipotle ranch, or even a zesty queso dip. The crisp, cheesy pockets are the perfect vehicle for scooping up your favorite sauces, so let your taste buds travel!
Final Thoughts
If you’re looking for a dinner that brings smiles, fun, and a whole lot of flavor, Loaded Cheesy Pocket Tacos deliver every single time. They’re comforting, customizable, and destined to disappear fast. Try them once, and you’ll find excuses to make them again and again!
Print
Loaded Cheesy Pocket Tacos Recipe
- Prep Time: 15 minutes
- Cook Time: 15 minutes
- Total Time: 30 minutes
- Yield: 8 pocket tacos
- Category: Main Course
- Method: Baking
- Cuisine: Mexican-American
- Diet: Non-Vegetarian
Description
These Loaded Cheesy Pocket Tacos are a delicious and convenient twist on traditional tacos. Perfect for a quick and satisfying meal, these hand-held pockets are filled with seasoned beef, gooey cheeses, and all your favorite taco toppings sealed in a flaky biscuit crust.
Ingredients
For the taco filling:
- 1 pound ground beef
- 1 small onion, diced
- 1 packet taco seasoning mix
- 1/3 cup water
For assembling the pockets:
- 1 cup shredded cheddar cheese
- 1 cup shredded Monterey Jack cheese
- 1/2 cup sour cream
- 1/2 cup salsa
- 1/2 cup canned refried beans (optional)
- 1 tube refrigerated large biscuits (8-count)
- 1 tablespoon melted butter
- 1/2 teaspoon garlic powder
- Chopped fresh cilantro or green onions for garnish (optional)
Instructions
- Preheat the oven and prepare the filling: Preheat the oven to 375°F. Cook ground beef and onion in a skillet until browned. Drain excess fat, then mix in taco seasoning and water. Simmer until thickened.
- Assemble the pockets: Flatten each biscuit into a circle. Fill with refried beans, taco meat, sour cream, cheeses, salsa. Fold and seal the edges with a fork.
- Bake the pockets: Brush with garlic butter, bake for 12-15 minutes until golden brown.
- Serve: Garnish with cilantro or green onions. Serve warm with extra salsa or sour cream.
Notes
- Customize with black beans, jalapeños, or chopped bell peppers.
- Freeze cooled pockets individually for later reheating in the oven or air fryer.
Nutrition
- Serving Size: 1 pocket taco
- Calories: 360
- Sugar: 3g
- Sodium: 790mg
- Fat: 22g
- Saturated Fat: 10g
- Unsaturated Fat: 10g
- Trans Fat: 0g
- Carbohydrates: 26g
- Fiber: 1g
- Protein: 14g
- Cholesterol: 55mg


