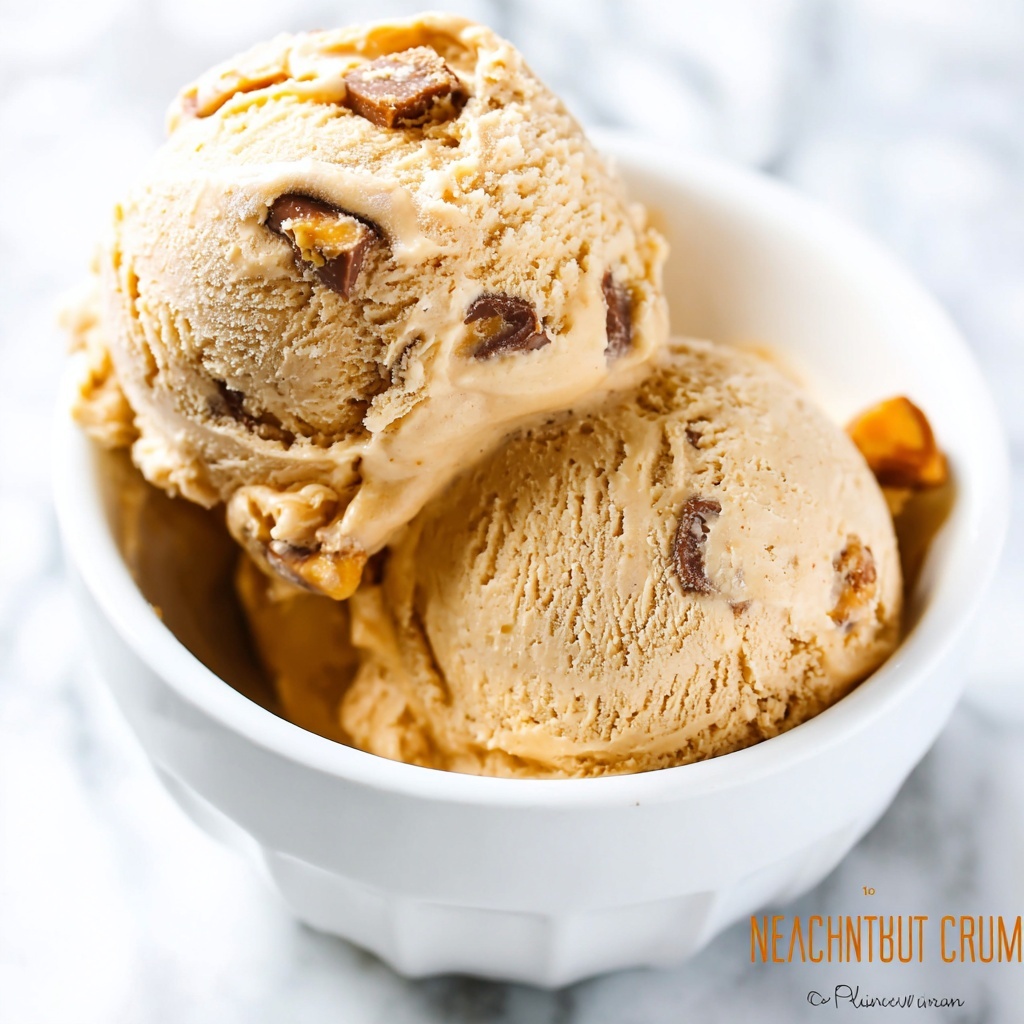
If you love the irresistible combo of chocolate and peanut butter but don’t want to fuss with an ice cream maker, this No Churn Peanut Butter Cup Ice Cream Recipe is your new best friend. Creamy, rich, and studded with chunks of mini Reese’s candies, it’s a dreamy frozen treat you can whip up in no time and with minimal ingredients. Every bite is a delightful swirl of peanut butter ribbons and chocolate cocoa, perfectly balanced and utterly addictive, making this dessert ideal for any occasion that calls for a scoop of happiness.
Ingredients You’ll Need
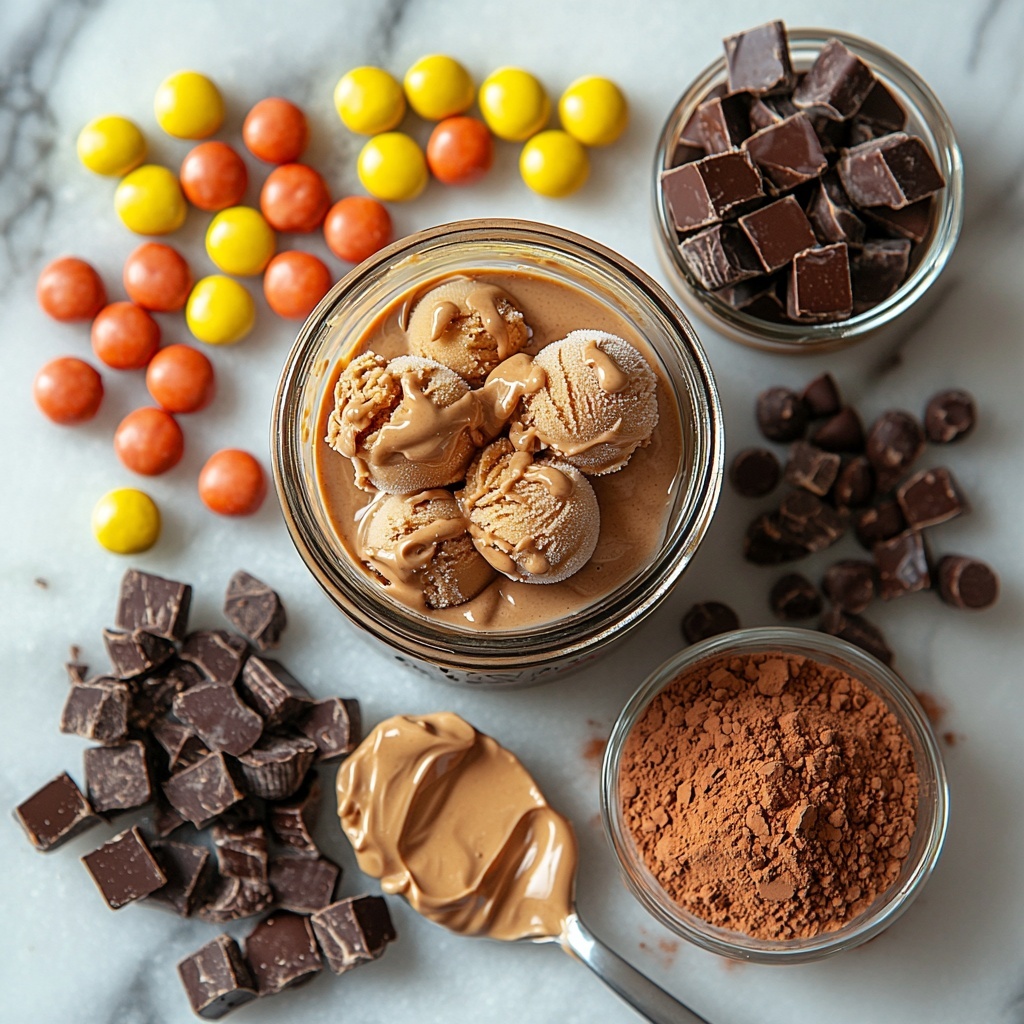
These simple ingredients come together to create the magic of this ice cream—each one plays a vital role in delivering that perfect creamy texture and mouthwatering flavor.
- Reese’s Miniatures (about 40 mini Reese’s): These candy pieces give the ice cream a fun, crunchy texture and rich peanut butter flavor.
- 14 oz sweetened condensed milk: Acts as the sweet base and binds all the flavors together with its creamy richness.
- 1/2 cup unsweetened cocoa powder: Adds deep chocolate intensity without extra sweetness.
- 2 cups heavy whipping cream: Whipped into stiff peaks, it forms the airy, smooth body of the ice cream.
- 1/2 cup peanut butter: Creates luscious swirls of nutty flavor that contrast beautifully with the chocolate.
How to Make No Churn Peanut Butter Cup Ice Cream Recipe
Step 1: Chill the Reese’s Miniatures
Start by placing the small bag of mini Reese’s in the freezer for about 10 minutes. This helps keep the candy pieces firm and prevents them from melting too quickly when mixed into the ice cream later.
Step 2: Mix Your Chocolate Base
In a large bowl, combine the sweetened condensed milk with the unsweetened cocoa powder. Stir vigorously until the mixture is smooth and velvety, making sure there are no lumps. This chocolate base sets the stage for richness and indulgence.
Step 3: Whip the Cream
In a separate large bowl, whip the heavy cream until stiff peaks form. This step is crucial since the whipped cream creates the light, fluffy texture that mimics traditional churned ice cream.
Step 4: Combine and Fold
Gently fold the condensed milk and cocoa mixture into the whipped cream. Take your time here to maintain as much airiness as possible. This blend is the heart of your ice cream’s creamy texture and chocolate flavor.
Step 5: Prepare and Add Candy Pieces
Unwrap each mini Reese’s and cut them into four smaller pieces to ensure every spoonful gets a perfect candy bite. Fold about two-thirds of the chopped candy into the ice cream mixture, distributing the chunks evenly without overmixing.
Step 6: Layer with Peanut Butter Swirls
Heat the peanut butter briefly in the microwave, about 20 to 30 seconds, just until it melts enough to drizzle easily. In a loaf pan, pour a third of the chocolate ice cream mixture, then drizzle with a third of the melted peanut butter. Repeat until you have three layers. Use a knife to swirl through the layers—this marble effect not only looks stunning but also ensures each bite has that luscious peanut butter punch.
Step 7: Top and Freeze
Sprinkle the remaining mini Reese’s pieces on top for a decorative and tasty finish. Pop the pan into the freezer for at least 6 hours, or even better, overnight. This wait lets the ice cream firm up perfectly and the flavors meld beautifully.
How to Serve No Churn Peanut Butter Cup Ice Cream Recipe
Garnishes
Enhance your ice cream with extra chocolate shavings, a generous drizzle of warm peanut butter drizzle, or even a scattering of crushed pretzels for a delightful salty crunch. Fresh mint leaves can add a pop of color and a refreshing contrast to the rich flavors.
Side Dishes
This ice cream shines alongside warm desserts like brownies or freshly baked cookies, elevating your dessert game. It also pairs wonderfully with a simple fruit salad featuring strawberries or bananas, balancing the richness with natural sweetness.
Creative Ways to Present
Serve scoops in mini waffle cones sprinkled with crushed peanuts for a fun handheld treat. Or layer the ice cream in clear glass cups with alternating bits of chopped candy and peanut butter drizzle to create an eye-catching parfait. For special occasions, consider using cookie cups or chocolate bowls as edible serving vessels.
Make Ahead and Storage
Storing Leftovers
Once your No Churn Peanut Butter Cup Ice Cream Recipe is made, store any leftovers tightly covered with plastic wrap or an airtight lid to prevent freezer burn and ice crystals. It is best consumed within one week to enjoy peak freshness and flavor.
Freezing
This no churn ice cream freezes beautifully without losing its creamy texture. Just remember to allow it to soften for about 5 to 10 minutes at room temperature before scooping, so it’s easier to serve and tastes its best.
Reheating
Since this is ice cream, reheating is not recommended unless you want a melted treat. If it does thaw too much, simply remix it gently and refreeze, although some texture changes may occur.
FAQs
Can I substitute peanut butter with another nut butter?
Absolutely! Almond or cashew butter can be used as alternatives, but keep in mind they will alter the flavor profile slightly. Choose a creamy variety for the best texture.
Do I have to use sweetened condensed milk?
Yes, sweetened condensed milk is key to the No Churn Peanut Butter Cup Ice Cream Recipe because it adds sweetness and helps achieve that creamy, scoopable consistency without an ice cream maker.
Can I make this recipe vegan or dairy-free?
To make a dairy-free version, swap out heavy cream with coconut cream and use a non-dairy sweetened condensed milk or make your own. The peanut butter and Reese’s candies might need vegan alternatives, so check labels carefully.
Is there a way to make the ice cream less sweet?
You can reduce the sweetness by opting for unsweetened peanut butter and using dark chocolate cocoa powder, but keep in mind that sweetened condensed milk will always add a good amount of sugar.
How long does the ice cream last in the freezer?
For the best taste and texture, eat it within one week. After that, ice crystals may form and the texture may degrade, but it will still be safe to consume for up to one month if properly stored.
Final Thoughts
If you’re craving a dessert that’s effortless yet extravagant, the No Churn Peanut Butter Cup Ice Cream Recipe is everything you need in your kitchen. It’s rich, creamy, and packed with those nostalgic peanut butter cup flavors that everyone adores. Trust me, once you try this recipe, it will become a go-to treat for you and anyone lucky enough to share it with. So, grab those ingredients and start swirling—happiness is just a scoop away!
Print
No Churn Peanut Butter Cup Ice Cream Recipe
- Prep Time: 15 minutes
- Cook Time: 0 minutes
- Total Time: 6 hours 15 minutes
- Yield: 8 servings
- Category: Dessert
- Method: No-Cook
- Cuisine: American
Description
This No Churn Peanut Butter Cup Ice Cream is a deliciously creamy, chocolatey treat swirled with melted peanut butter and studded with mini Reese’s peanut butter cups. Perfect for an easy homemade dessert without the need for an ice cream maker, this recipe layers rich chocolate ice cream mixture with peanut butter, creating irresistible peanut butter swirls and candy crunch in every bite. Ready in just over 6 hours, it’s a perfect sweet treat for peanut butter and chocolate lovers alike.
Ingredients
Chocolate Ice Cream Base
- 14 oz sweetened condensed milk
- 1/2 cup unsweetened cocoa powder
- 2 cups heavy whipping cream
Peanut Butter Layer
- 1/2 cup peanut butter
Mix-ins
- Small bag of Reese’s Miniatures (about 40 mini Reese’s)
Instructions
- Freeze the Candies: Place the small bag of mini Reese’s in the freezer for about 10 minutes to firm them up for easier handling and cutting.
- Prepare Chocolate Mixture: In a large bowl, combine the unsweetened cocoa powder with the sweetened condensed milk and stir thoroughly until smooth. In a separate large bowl, whip the heavy cream until stiff peaks form. Gently fold the chocolate and condensed milk mixture into the whipped cream, blending carefully to maintain the light texture.
- Chop Candy: Unwrap the mini Reese’s and cut each candy into four pieces. Fold approximately two-thirds of these candy pieces evenly into the chocolate ice cream mixture to distribute delightful peanut butter chunks throughout.
- Melt Peanut Butter: Heat the peanut butter in the microwave for 20-30 seconds until it is melted and easy to drizzle.
- Layer Ice Cream and Peanut Butter: In a loaf pan, pour one-third of the chocolate ice cream mixture into the bottom, then drizzle one-third of the melted peanut butter over it. Repeat layering two more times, ending with the peanut butter layer.
- Create Peanut Butter Swirls: Use a knife to run through the layers gently, swirling the peanut butter throughout the chocolate mixture to create a marbled effect.
- Top and Freeze: Sprinkle the remaining mini Reese’s candy pieces over the top of the ice cream. Freeze the pan for at least 6 hours or overnight to allow the ice cream to firm up properly before serving.
Notes
- For best texture, ensure the heavy cream is whipped to stiff peaks before folding in the chocolate mixture.
- Use a sharp knife to swirl the peanut butter gently without over-mixing to maintain distinct layers and swirls.
- If mini Reese’s miniatures are unavailable, chopped regular Reese’s peanut butter cups can be substituted.
- This ice cream is best stored in an airtight container to prevent freezer burn.
- Allow the ice cream to sit at room temperature for a few minutes before scooping for easier serving.
