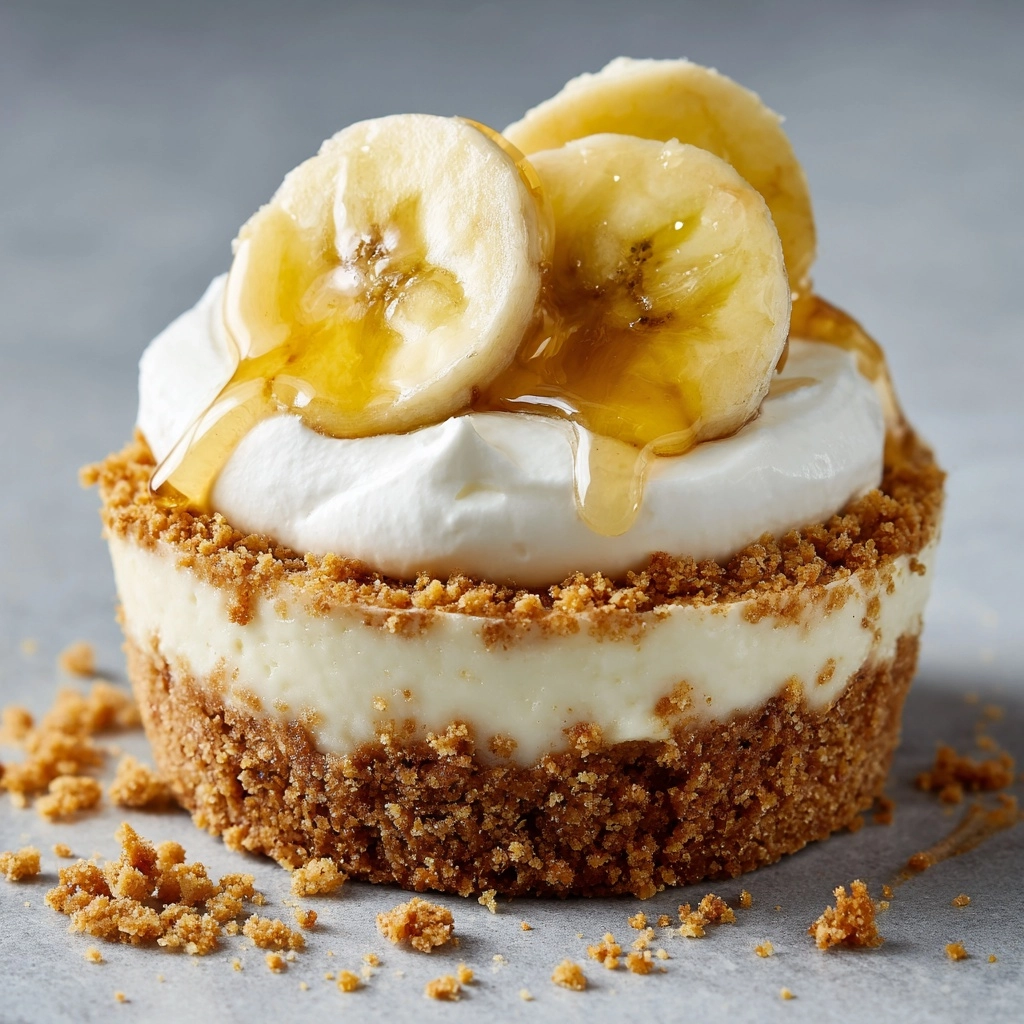
If you love the creamy, comforting taste of classic banana cream pie but crave something smaller and easier to whip up, you are going to adore this No-Bake Mini Banana Cream Pies Recipe. These delightful mini treats pack all the rich banana goodness into a perfectly crumbly graham cracker crust, topped with luscious banana pudding and fresh slices, all without firing up the oven. Whether you’re new to pie-making or a seasoned dessert lover, this recipe promises a fuss-free, crowd-pleasing dessert that feels both nostalgic and fresh.
Ingredients You’ll Need
Gathering the right ingredients is the secret to making these mini pies simply irresistible. Each component plays a crucial role in creating the perfect balance of texture and flavor — from the buttery crust to the silky pudding and fresh bananas.
- Graham cracker crumbs (1 1/2 cups): Provides a sweet, crunchy base that holds everything together.
- Granulated sugar (1/4 cup): Adds just the right touch of sweetness to the crust.
- Unsalted butter, melted (6 tablespoons): Binds the crust ingredients and adds rich flavor.
- Instant banana cream pudding mix (1 package, 3.4 oz): Gives you that classic banana pudding flavor with an easy prep.
- Cold milk (1 1/2 cups): Used to whisk the pudding mix to the perfect creamy consistency.
- Heavy whipping cream (1/2 cup): Whipped and folded in to give the filling a light, mousse-like texture.
- Ripe bananas (2, sliced): Fresh banana slices inside and on top create natural sweetness and that lovely banana bite.
- Whipped cream: For topping, adding a soft and airy finish to the mini pies.
- Optional garnishes: Crushed graham crackers or extra banana slices to dress up your presentation.
How to Make No-Bake Mini Banana Cream Pies Recipe
Step 1: Prepare the Crust
Begin by combining the graham cracker crumbs, sugar, and melted butter in a bowl. Stir until the mixture resembles moist sand. Press this mixture firmly into the bottom and up the sides of six mini tart pans or muffin liners. This creates the crisp, buttery shell that holds your creamy filling. Pop the crusts into the refrigerator for 15 to 20 minutes to firm up — chilling is key for a crust that doesn’t crumble when you bite in.
Step 2: Whisk the Banana Pudding
Next, in a separate mixing bowl, whisk the instant banana cream pudding mix with cold milk. Whisk vigorously for about two minutes, until the pudding thickens beautifully. This step brings in that unmistakable banana flavor and creamy texture that’s central to the recipe.
Step 3: Whip the Cream
In another chilled bowl, beat the heavy whipping cream until stiff peaks form — this means when you lift the beaters, the cream holds its shape firmly. Carefully fold this whipped cream into the pudding mixture, creating a light, airy mousse-like consistency that makes each bite melt in your mouth.
Step 4: Assemble the Pies
Layer a few fresh banana slices into each chilled crust. Then spoon the fluffy pudding mixture on top, covering the bananas well. This layered effect ensures every bite delivers sweet banana and creamy pudding textural contrast. Return the mini pies to the fridge and chill for at least one hour to let everything set perfectly.
Step 5: Add the Finishing Touches
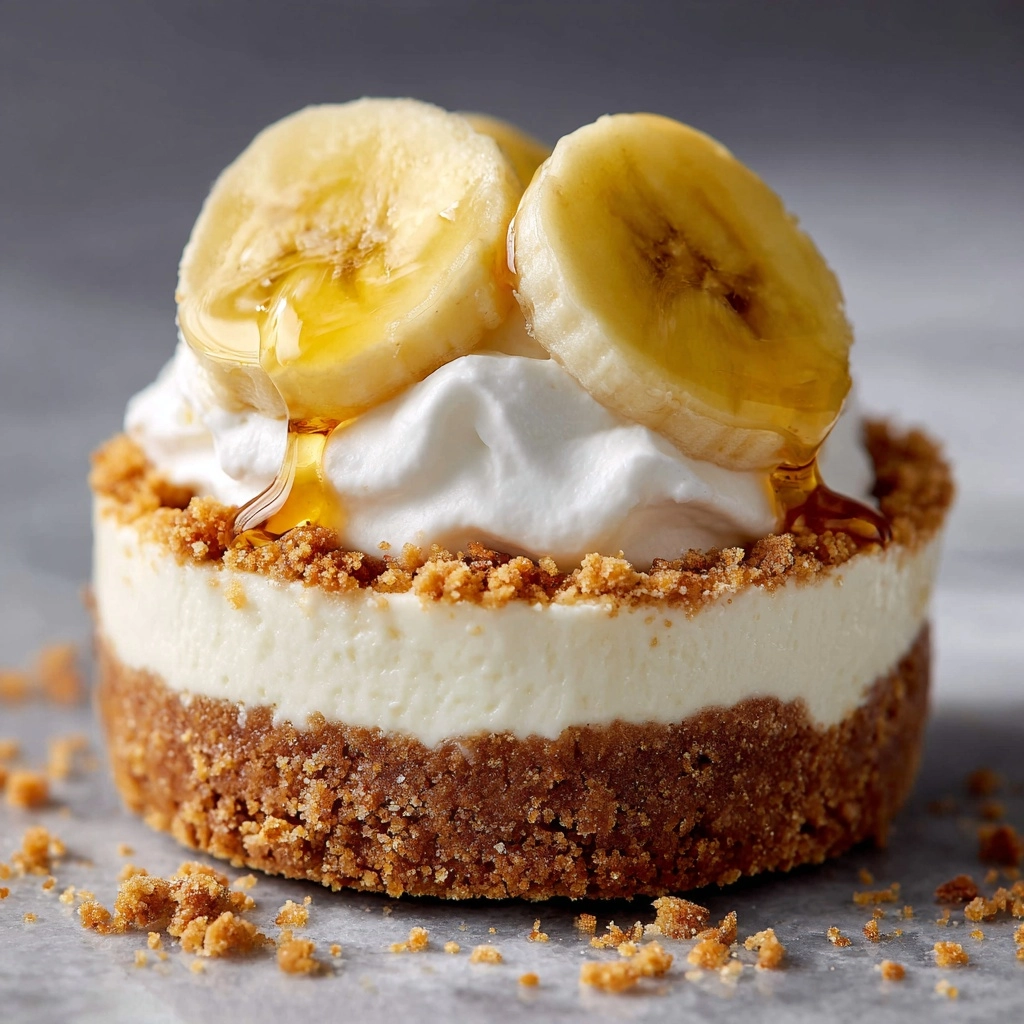
Just before serving, crown each mini pie with a generous dollop of whipped cream and sprinkle with your choice of crushed graham crackers or an extra banana slice. These final touches add visual appeal and a bit of extra crunch or tropical freshness that makes them irresistible.
How to Serve No-Bake Mini Banana Cream Pies Recipe

Garnishes
Whipped cream is a classic and dreamy topping for mini banana cream pies, but don’t be shy to sprinkle crushed graham crackers on top for texture, or place a thin fan of banana slices to accentuate the fruity flavor. A light dusting of cinnamon or nutmeg can also add a warm spice note that pairs wonderfully with the sweet banana filling.
Side Dishes
These mini pies shine as a standalone dessert but also taste fantastic served alongside fresh berries or a scoop of vanilla ice cream if you want to turn it into a special treat. A cup of strong coffee or a smooth cup of tea complements their sweetness well in a cozy afternoon setting.
Creative Ways to Present
If you want to impress guests even more, try serving the No-Bake Mini Banana Cream Pies Recipe in clear mini jars or glass cups for a layered parfait look. You could even put together a dessert platter with different toppings and garnishes so everyone can customize their own mini pie experience. These small delights also make charming edible gifts when wrapped with care.
Make Ahead and Storage
Storing Leftovers
Because fresh bananas can brown quickly, these mini pies are best enjoyed the day they are made. However, if you have leftovers, cover them tightly with plastic wrap or transfer to an airtight container and refrigerate for up to two days to maintain freshness and texture.
Freezing
While you can freeze the assembled pies, bananas tend to lose their texture and turn mushy after thawing. For the best results, freeze just the crusts ahead of time and prepare the filling fresh when you’re ready to serve. This keeps everything tasting as perfect as the first time.
Reheating
No reheating is needed — these pies are designed to be enjoyed cold and creamy. Just take them out of the fridge a few minutes before serving if you prefer them slightly less chilled.
FAQs
Can I use vanilla pudding instead of banana pudding?
Absolutely! If you prefer vanilla pudding, you can substitute it and mix in a bit of mashed ripe banana to still capture that lovely banana flavor with a slight twist.
What can I use if I don’t have graham crackers?
Digestive biscuits or vanilla wafers make excellent alternatives for the crust and will still give you that sweet, crunchy base you want for these pies.
How ripe should the bananas be?
Choose ripe but firm bananas — they should be yellow with minimal brown spots. Overripe bananas might brown too quickly once sliced in the pies, affecting appearance and taste.
Can I make these pies in larger sizes?
Yes! You can scale up this recipe using a larger pie dish and adjust the crust and filling quantities accordingly, though the chilling times may vary slightly for a bigger pie.
Is this recipe suitable for vegetarians?
This recipe is vegetarian-friendly as it contains no meat or gelatin. Always check specific pudding mix ingredients if you follow a strict vegetarian diet.
Final Thoughts
There’s something so comforting and joyful about these No-Bake Mini Banana Cream Pies Recipe — the perfect balance of creamy, crunchy, and fruity in a tiny, delightful package. Whether you’re serving them at a family gathering or treating yourself after a long day, these pies make bringing a bit of sweetness to any moment incredibly easy. I can’t wait for you to try this recipe and savor every bite of these little banana-flavored dreams!
Print
No-Bake Mini Banana Cream Pies Recipe
- Prep Time: 20 minutes
- Cook Time: 0 minutes
- Total Time: 1 hour 20 minutes
- Yield: 6 mini pies
- Category: Dessert
- Method: No-Cook
- Cuisine: American
- Diet: Vegetarian
Description
These No-Bake Mini Banana Cream Pies are a delightful and easy-to-make dessert featuring a buttery graham cracker crust, creamy banana-flavored pudding filling, and fresh banana slices. Perfectly portioned in mini tart pans, they are chilled to set for a mousse-like texture and topped with whipped cream for an elegant finish. Ideal for quick preparation without needing an oven, making them a fantastic treat for any occasion.
Ingredients
For the Crust
- 1 1/2 cups graham cracker crumbs
- 1/4 cup granulated sugar
- 6 tablespoons unsalted butter, melted
For the Filling
- 1 package (3.4 oz) instant banana cream pudding mix
- 1 1/2 cups cold milk
- 1/2 cup heavy whipping cream
- 2 ripe bananas, sliced
For Topping
- Whipped cream, for topping
- Optional: crushed graham crackers or banana slices for garnish
Instructions
- Prepare the Crust: In a bowl, combine the graham cracker crumbs, granulated sugar, and melted unsalted butter. Mix thoroughly until the crumbs are evenly coated and hold together when pressed.
- Form Crusts: Divide the crust mixture evenly among 6 mini tart pans or muffin liners. Press the mixture firmly into the bottoms and slightly up the sides to form the crust base and edges.
- Chill Crust: Place the crusts in the refrigerator for 15–20 minutes to firm up and set before adding the filling.
- Make Banana Cream Filling: In a separate bowl, whisk the instant banana cream pudding mix with 1 1/2 cups of cold milk for about 2 minutes until the mixture thickens.
- Whip Cream: In another bowl, beat the heavy whipping cream until stiff peaks form, ensuring it is light and airy.
- Combine Cream and Pudding: Gently fold the whipped cream into the thickened pudding mixture to create a light, mousse-like filling without deflating the whipped cream.
- Assemble Pies: Place a few slices of banana into each chilled crust. Spoon the pudding and whipped cream mixture evenly over the banana slices in each crust.
- Chill to Set: Refrigerate the assembled mini pies for at least 1 hour or until the filling is fully set and firm.
- Add Toppings: Before serving, top each mini pie with whipped cream and optionally garnish with crushed graham crackers or additional banana slices for extra flavor and presentation.
Notes
- Best served the day of preparation to prevent the banana slices from browning and losing their fresh taste.
- If banana cream pudding mix is unavailable, substitute with vanilla pudding mix and add a bit of mashed ripe banana to replicate the banana flavor.

