
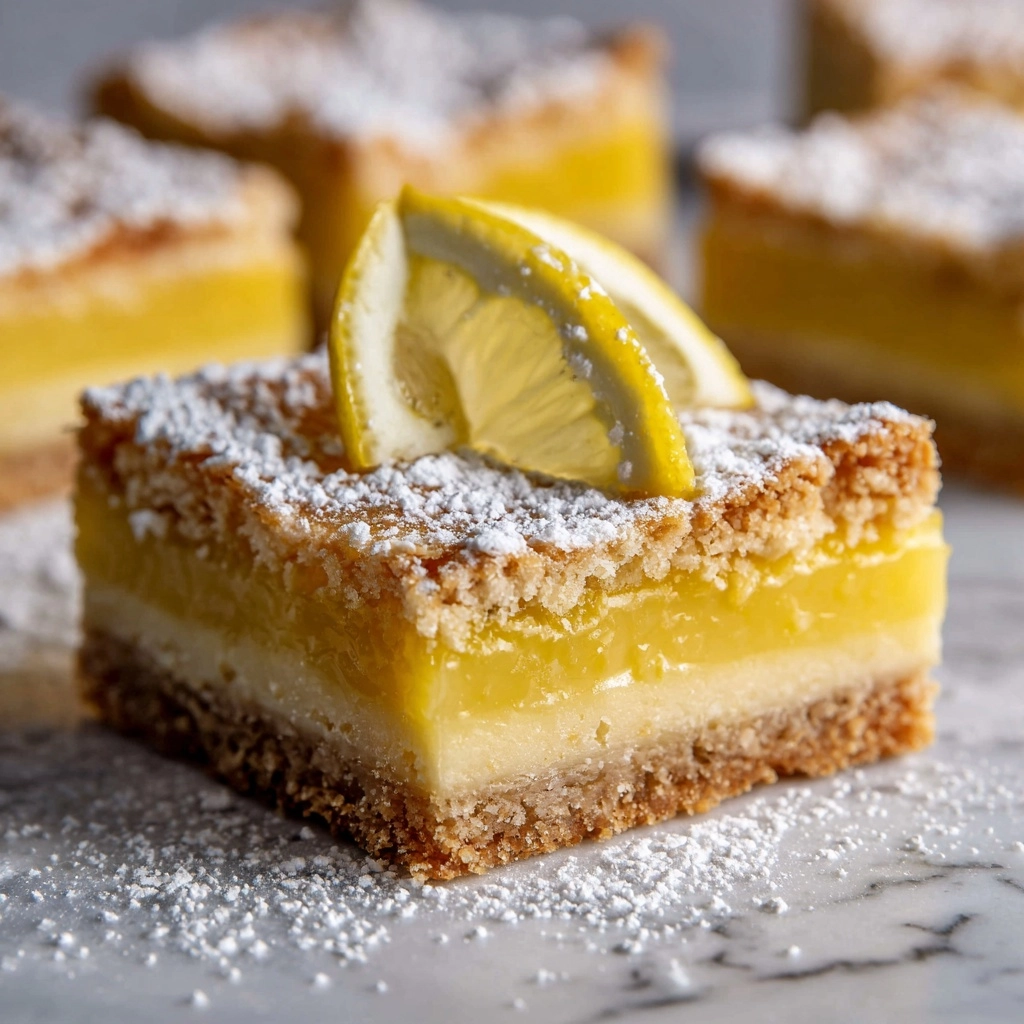
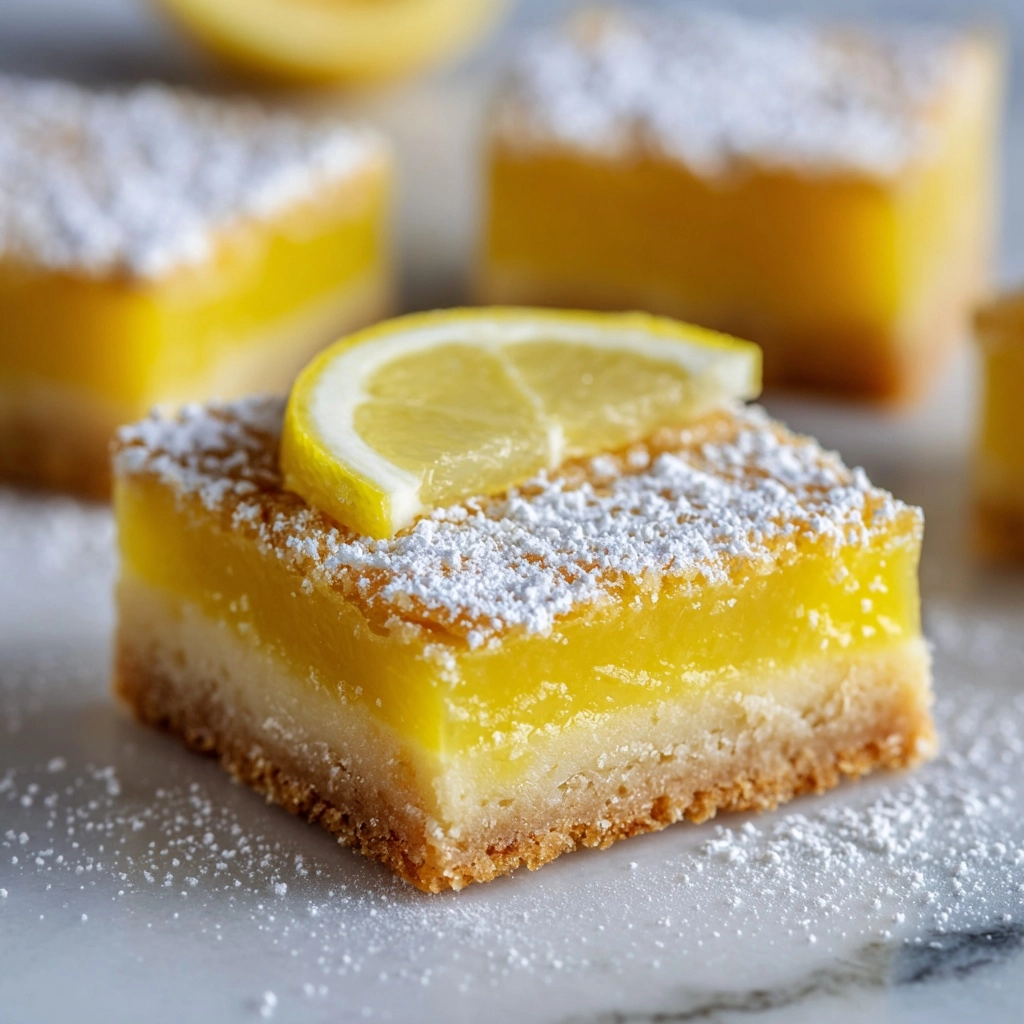
If you’ve ever found yourself craving a bright, tangy dessert that perfectly balances sweet and tart, you are going to love this Classic Lemon Bars Recipe. It’s one of those timeless treats that instantly lifts your spirits with its buttery crust and refreshing lemon filling. Each bite offers that delightful contrast of a crisp, tender base paired with a smooth, zesty top layer. Whether it’s for a family gathering, a casual afternoon snack, or a fancy dessert course, these lemon bars are sure to become a cherished favorite in your recipe collection.
Ingredients You’ll Need
The magic behind this Classic Lemon Bars Recipe lies in its simple, everyday ingredients that come together to create extraordinary flavor and texture. Each component plays a crucial role: the butter and flour form a sturdy, flaky crust, while the eggs and lemon juice bring the tangy, custardy filling to life.
- Unsalted butter: Use softened butter to achieve that perfect crumbly yet tender crust.
- Granulated sugar: Adds sweetness to balance the tartness of the lemon filling and sweetens the crust.
- All-purpose flour: Provides structure for both crust and filling, ensuring the bars hold their shape.
- Salt: A pinch enhances all the flavors in the crust and balances sweetness.
- Eggs: Essential for the rich, custard-like texture of the lemon filling.
- Freshly squeezed lemon juice: The star ingredient that brings vibrant acidity and bright flavor.
- Lemon zest: Adds intense citrus fragrance and a punch of lemony goodness.
- Powdered sugar (optional): Perfect for dusting to add a touch of elegance and extra sweetness.
How to Make Classic Lemon Bars Recipe
Step 1: Prepare and Bake the Crust
Start by preheating your oven to 350°F (175°C) and lining a 9×13-inch baking dish with parchment paper, leaving a little overhang for easy removal. In a large bowl, cream together the softened butter and granulated sugar until the mixture becomes light and fluffy—this step is key to giving your crust that tender texture. Then, stir in the flour and salt to form a crumbly dough. Press this dough evenly into your prepared pan, aiming for a uniform layer, and bake it for 18 to 20 minutes until the edges turn a lovely golden shade. This crust is your crispy foundation, so don’t skip this step!
Step 2: Make the Lemon Filling
While your crust is baking, whisk the sugar and flour for the filling in a large bowl until well combined. Next, add the eggs, freshly squeezed lemon juice, and lemon zest, whisking everything together until smooth and silky. The fresh lemon juice and zest infuse the mixture with bright citrus flavor, while the eggs help it set into a luscious custard. The flour in the filling keeps it perfectly firm without losing creaminess.
Step 3: Combine and Bake Again
Once the crust is out of the oven and still warm, pour the lemon filling evenly over it. Quickly but gently spread to ensure even coverage and then pop it back into the oven. Bake for another 20 to 25 minutes until the filling is set and no longer jiggles at the center. This crucial step ensures your lemon bars come out firm but delightfully soft and custardy.
Step 4: Cool and Chill
Allow the lemon bars to cool completely in the pan so the filling sets properly. For best results, refrigerate the bars for at least an hour before slicing. When you’re ready to serve, dust the top with powdered sugar if you like a little extra sweetness and a beautiful finishing touch. Use a sharp knife wiped clean between cuts to get those clean, perfect squares.
How to Serve Classic Lemon Bars Recipe
Garnishes
Classic lemon bars delight with their simplicity, but a few fresh garnishes can elevate their presentation. Consider sprinkling finely grated lemon zest over the powdered sugar for a burst of aroma. A couple of fresh mint leaves placed on each bar provide a gorgeous contrast in color and add a refreshing twist that complements the lemon perfectly.
Side Dishes
These bars shine as a standalone treat but pair wonderfully with light accompaniments. A dollop of whipped cream or a scoop of vanilla ice cream softens the tartness and adds a decadent creaminess. For brunch or tea time, serve alongside fresh berries or a cup of herbal tea like chamomile or green tea for a comforting and balanced experience.
Creative Ways to Present
If you’re bringing this Classic Lemon Bars Recipe to a party or special event, think beyond the simple square. Consider cutting them into bite-sized bars and serving them on a tiered platter with edible flowers for a charming touch. Alternatively, use cookie cutters to create heart shapes or stars for festive occasions. Adding a drizzle of white chocolate or a light glaze made from powdered sugar and lemon juice can turn your bars into an elegant dessert centerpiece.
Make Ahead and Storage
Storing Leftovers
Leftover lemon bars keep incredibly well in the refrigerator. Store them in an airtight container to maintain freshness for up to five days. The flavors often deepen with time, making the bars taste even better after a day or two. Just be sure to cover them well to prevent any drying out or absorption of unrelated fridge odors.
Freezing
If you want to make a batch ahead and keep them longer, these lemon bars freeze beautifully. After cooling and slicing, wrap each bar individually in plastic wrap, then store them in a freezer-safe container or bag. They can stay frozen for up to three months. Thaw them overnight in the fridge, and they’ll taste just as fresh as when first baked.
Reheating
Since lemon bars are best served chilled or at room temperature, reheating isn’t necessary. However, if you prefer them slightly warm, pop them in the microwave for 10 to 15 seconds—just enough to take the chill off without melting the filling or drying out the crust.
FAQs
Can I use bottled lemon juice instead of fresh lemons?
Freshly squeezed lemon juice always gives the best bright and natural flavor in this Classic Lemon Bars Recipe. Bottled lemon juice can be used in a pinch, but it may lack the vibrant freshness and can slightly alter the taste.
How do I get clean cuts when slicing lemon bars?
A sharp knife is your best tool. Wipe it clean between each cut to prevent crumbs and filling from sticking, which helps maintain smooth edges and gorgeous-looking bars.
Why is my lemon filling too runny?
If your lemon filling isn’t setting properly, it could be due to underbaking or inaccurate measurements. Make sure to bake until the center no longer jiggles, and use the exact amount of flour and eggs as the recipe directs.
Can I make these bars gluten-free?
Absolutely! Substitute the all-purpose flour in both crust and filling with a gluten-free flour blend that measures cup-for-cup. This tweak maintains texture and flavor with a little experimentation.
What’s the best way to transport lemon bars to a party or picnic?
Use a sturdy, airtight container and keep the bars chilled until serving time. If it’s warm outside, an insulated cooler bag can help maintain their freshness and prevent melting or sogginess.
Final Thoughts
There’s something truly special about a Classic Lemon Bars Recipe that never gets old. It’s the effortless blend of buttery crust and zingy lemon filling that keeps everyone coming back for more. Give this recipe a try—you’ll find it’s not just a dessert, but a bright little moment of joy baked into every bite. Trust me, once you make these, they’ll be your go-to dessert for every occasion.
Print
Classic Lemon Bars Recipe
- Prep Time: 15 minutes
- Cook Time: 45 minutes
- Total Time: 1 hour
- Yield: 16 bars
- Category: Dessert
- Method: Baking
- Cuisine: American
- Diet: Vegetarian
Description
Classic Lemon Bars are a delightful citrus dessert featuring a buttery, crumbly crust topped with a tangy and sweet lemon filling. This easy-to-make American treat is perfect for any occasion and is sure to please with its bright lemon flavor and smooth texture.
Ingredients
For the Crust
- 1 cup unsalted butter, softened
- 1/2 cup granulated sugar
- 2 cups all-purpose flour
- 1/4 teaspoon salt
For the Lemon Filling
- 1 1/2 cups granulated sugar
- 1/4 cup all-purpose flour
- 4 large eggs
- 2/3 cup freshly squeezed lemon juice (about 3–4 lemons)
- 1 tablespoon lemon zest
- Powdered sugar for dusting (optional)
Instructions
- Preheat and Prepare Pan: Preheat the oven to 350°F (175°C) and line a 9×13-inch baking dish with parchment paper, leaving a bit of overhang on the sides for easy removal.
- Make the Crust: In a large bowl, cream together the softened butter and sugar until light and fluffy. Add the flour and salt, mixing until a crumbly dough forms. Press this dough evenly into the prepared baking dish to form the crust.
- Bake the Crust: Bake the crust in the preheated oven for 18 to 20 minutes, or until the edges begin to turn light golden brown.
- Prepare the Lemon Filling: While the crust bakes, whisk together the sugar and flour in a large bowl. Add the eggs, freshly squeezed lemon juice, and lemon zest, whisking until the mixture is smooth and fully combined.
- Add Filling to Crust: Once the crust is baked, pour the lemon filling over the warm crust evenly.
- Bake Lemon Bars: Return the baking dish to the oven and bake for an additional 20 to 25 minutes, or until the filling is set and no longer jiggles in the center.
- Cool and Chill: Let the lemon bars cool completely in the pan, then refrigerate for at least 1 hour to allow them to firm up for easy slicing.
- Serve: Dust the bars with powdered sugar just before serving, if desired. Use a sharp knife wiped clean between cuts to achieve clean slices.
Notes
- For cleaner slices, use a sharp knife wiped clean between cuts to prevent smudging the bars.
- These lemon bars can be stored in the refrigerator for up to 5 days, making them perfect for make-ahead dessert.
- For longer storage, freeze the bars; thaw in the refrigerator before serving.


