
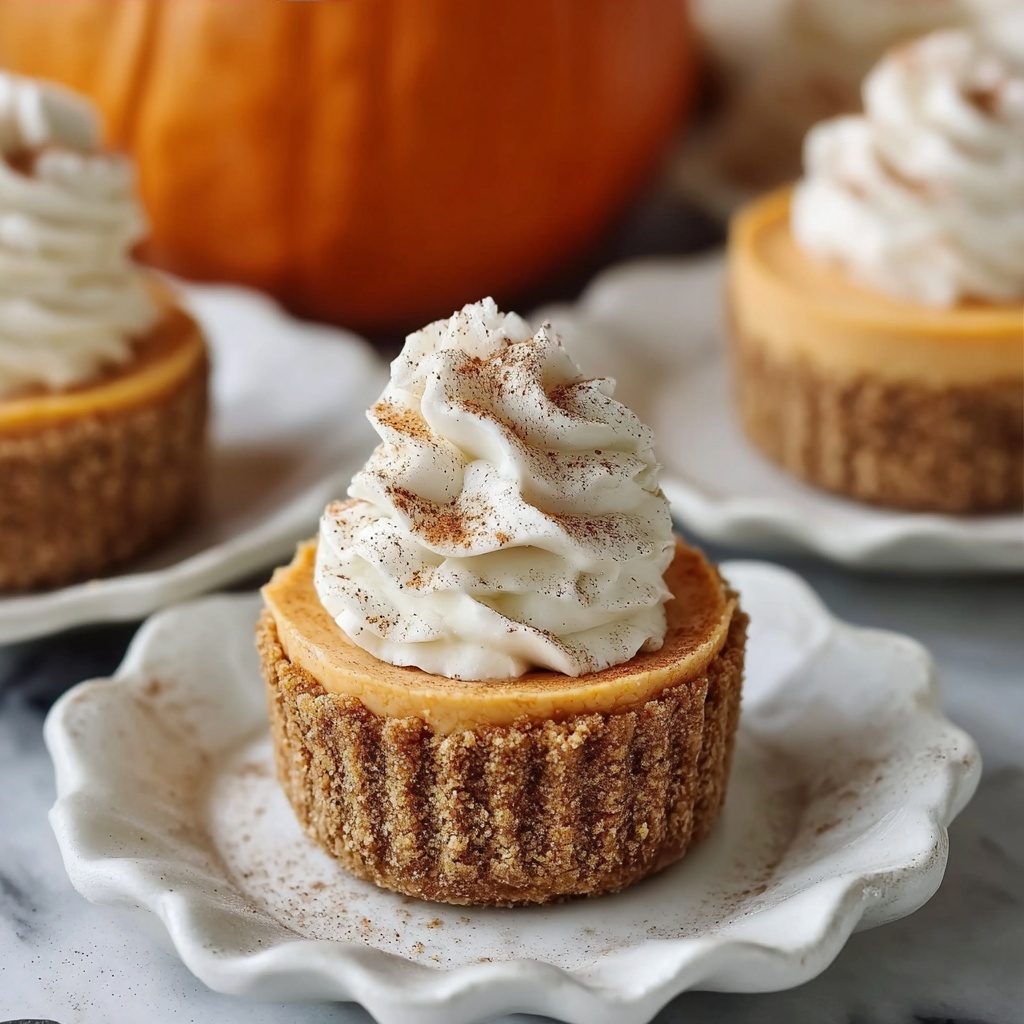
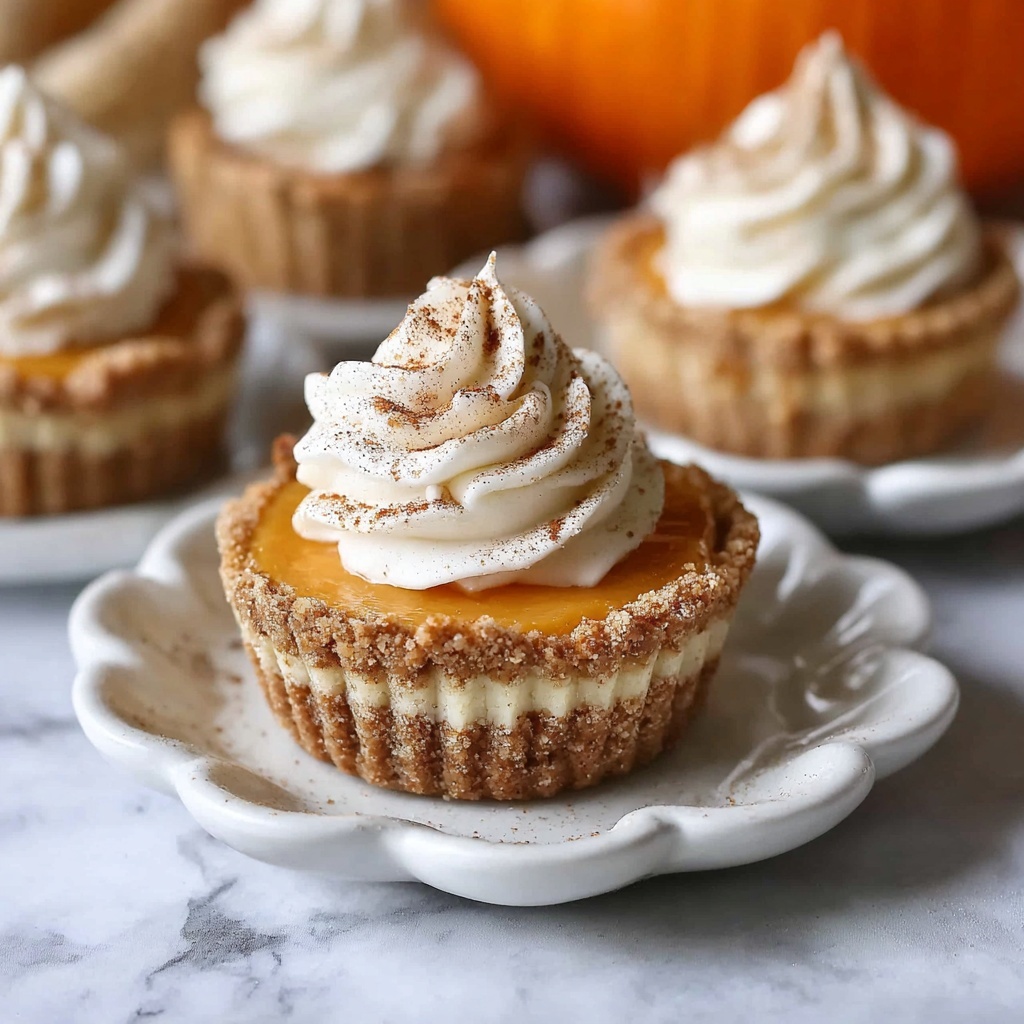
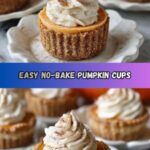
If you have a craving for something creamy, cozy, and utterly delightful that’s also incredibly easy to make, you are going to adore this No-Bake Pumpkin Cheesecake Cups Recipe. It captures all the warm spices and smooth textures of classic pumpkin cheesecake but without firing up the oven. Each bite delivers a luscious pumpkin filling perched on a buttery graham cracker crust, making these cups perfect for fall gatherings or anytime you want an effortless seasonal treat.
Ingredients You’ll Need
This No-Bake Pumpkin Cheesecake Cups Recipe relies on simple ingredients that come together in harmony to create layers of flavor and texture. Each component plays a role, from the crisp crust to the silky pumpkin cheese mix and the light whipped cream topping.
- 1 cup graham cracker crumbs: This forms the crunchy, buttery base and can be gluten-free if needed, adding a toasty flavor.
- 3 tablespoons unsalted butter, melted: Helps bind the crust while enriching its taste.
- 1 tablespoon granulated sugar: Sweetens the crust just enough without overpowering.
- 8 ounces cream cheese, softened: The star of the cheesecake filling, delivering rich creaminess.
- 1/2 cup canned pumpkin puree: Adds that iconic pumpkin flavor and gorgeous color.
- 1/3 cup granulated sugar: Sweetens the pumpkin filling to perfection.
- 1 teaspoon pure vanilla extract: Enhances all the flavors and rounds out the filling.
- 1 teaspoon pumpkin pie spice: Brings warmth and classic autumn spice notes.
- 1/2 teaspoon ground cinnamon: Adds a subtle spice boost that complements the pumpkin.
- 1 cup whipped cream or whipped topping: Folded into the filling for lightness and smooth texture.
- Extra whipped cream: For an inviting topping on each cup.
- Crushed graham crackers or a sprinkle of cinnamon: A decorative and tasty garnish to finish off.
How to Make No-Bake Pumpkin Cheesecake Cups Recipe
Step 1: Prepare the Crust
Start by mixing the graham cracker crumbs with melted butter and sugar in a bowl. This combination makes the base buttery and just sweet enough, creating a simple yet sturdy crust that adds a pleasant crunch.
Step 2: Form the Crust in Cups
Spoon roughly two tablespoons of the crumb mixture into your serving cups or jars. Press gently to form an even layer at the bottom. This is the foundation for your pumpkin cheesecake cups, so take your time to get an even spread.
Step 3: Make the Pumpkin Cheesecake Filling
In a mixing bowl, beat the softened cream cheese until smooth and creamy. This ensures your filling is silky and free of lumps, the perfect consistency for that dreamy cheesecake texture.
Step 4: Add Pumpkin and Spices
To the cream cheese, add pumpkin puree, sugar, vanilla extract, pumpkin pie spice, and cinnamon. Beat the mixture until all these cozy ingredients blend seamlessly, offering a rich and flavorful filling that screams fall.
Step 5: Fold in Whipped Cream
Gently fold in the whipped cream to the pumpkin mixture. This step is essential to achieve a light and fluffy texture, balancing the dense cream cheese with airiness that feels like a dessert cloud.
Step 6: Assemble the Cups
Evenly spoon the pumpkin cheesecake filling over the pressed crusts in each cup. Smooth out the tops for a clean, polished look—presentation matters, especially when sharing with friends and family!
Step 7: Add the Toppings
Top each cup with a generous dollop of whipped cream, followed by a sprinkle of crushed graham crackers or cinnamon. These finishing touches add texture and make every cup look as inviting as it tastes.
Step 8: Chill and Serve
Place the assembled cups in the refrigerator and chill for at least two hours. This chilling step helps the flavors marry and the filling to set into that wonderfully creamy consistency you expect in a cheesecake dessert.
How to Serve No-Bake Pumpkin Cheesecake Cups Recipe
Garnishes
While the recipe already includes whipped cream and graham cracker crumbs, you can elevate your cups with a few more garnishes like a cinnamon stick, chocolate shavings, or a drizzle of caramel sauce. These add visual appeal and taste flair perfect for impressing guests.
Side Dishes
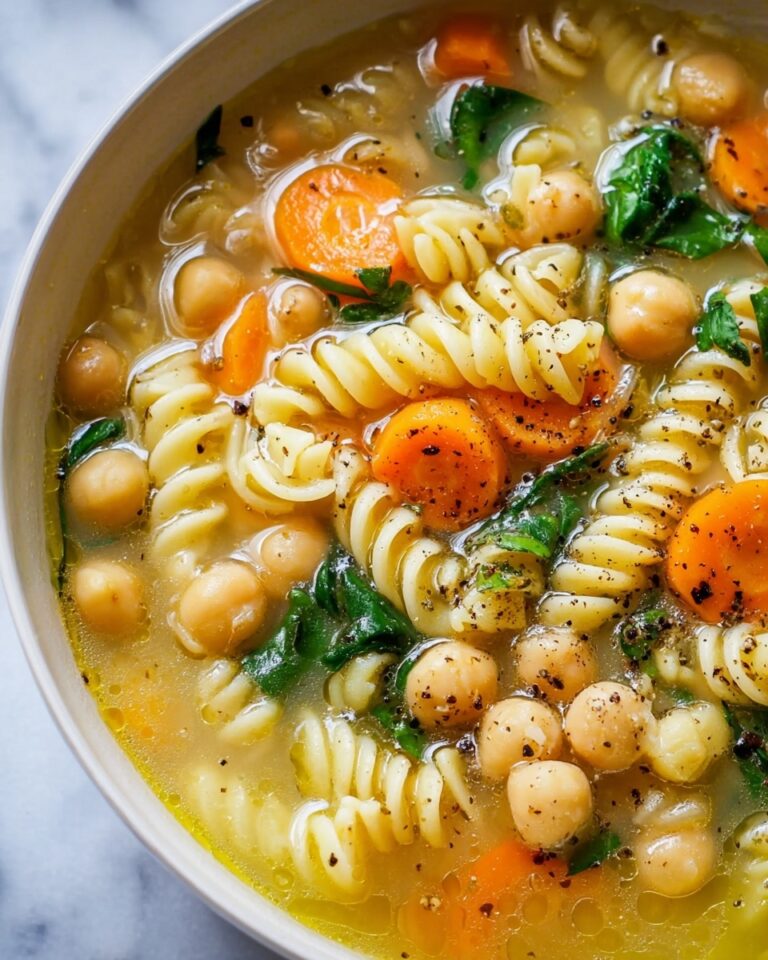
Pair these pumpkin cheesecake cups with light, refreshing options such as a crisp apple salad or a tangy cranberry compote. The contrast of fresh and sweet enhances the dessert experience without overwhelming it.
Creative Ways to Present
Try serving the cheesecake cups in mini mason jars or clear glass tumblers to showcase the beautiful layers. You can also place them on a rustic wooden tray lined with autumn leaves for a festive vibe that’s sure to delight your guests.
Make Ahead and Storage
Storing Leftovers
Store any leftover No-Bake Pumpkin Cheesecake Cups Recipe in the refrigerator, covered tightly with plastic wrap or in an airtight container. They will keep beautifully for up to three days, maintaining their creamy texture and fresh flavors.
Freezing
You can freeze these cups for longer storage by wrapping them securely and placing them in a freezer-safe container. When ready to enjoy, thaw overnight in the refrigerator to retain the best taste and texture.
Reheating
Since this dessert is best served chilled, reheating is not recommended. However, if you prefer a slightly warmer dessert, allow the cups to sit at room temperature for 15-20 minutes before serving; this softens the filling slightly without sacrificing its delightful richness.
FAQs
Can I use fresh pumpkin instead of canned pumpkin puree?
Fresh pumpkin can work if you cook it down into a smooth puree first, but canned pumpkin puree provides consistent moisture and texture, making it the easier choice for this recipe.
Is it possible to make this recipe vegan?
Absolutely! Substitute the cream cheese and whipped cream with plant-based versions and ensure the graham crackers are vegan-friendly. The pumpkin and spice components are naturally vegan.
How long does the No-Bake Pumpkin Cheesecake Cups Recipe take to set?
Chilling for at least two hours is essential to let the filling firm up properly. For firmer results, you can chill for up to 4 hours or overnight.
Can I use a different crust instead of graham crackers?
Yes, crushed digestive biscuits, vanilla wafers, or even ginger snaps make delicious crust alternatives that pair wonderfully with pumpkin flavors.
What can I do if I don’t have pumpkin pie spice?
Create your own blend with cinnamon, nutmeg, ginger, and cloves. This will give you fresh, customized spice notes that bring out the best in the pumpkin filling.
Final Thoughts
This No-Bake Pumpkin Cheesecake Cups Recipe is a total game-changer for anyone craving a fuss-free dessert that still bursts with festive flavor. Whether you’re making it for a busy weeknight treat or a crowd-pleasing fall party, this recipe promises sweetness, spice, and creamy decadence in every bite. Give it a try, and watch how quickly these little cups become a new favorite in your dessert lineup!
Print
No-Bake Pumpkin Cheesecake Cups Recipe
- Prep Time: 20 minutes
- Cook Time: 0 minutes
- Total Time: 2 hours 20 minutes (including chilling time)
- Yield: 6 individual cups
- Category: Dessert
- Method: No-Cook
- Cuisine: American
- Diet: Vegetarian
Description
These No-Bake Pumpkin Cheesecake Cups are a delightful and easy-to-make fall dessert that combines creamy pumpkin-flavored cheesecake filling with a crunchy graham cracker crust. Perfect for individual servings, they require no baking and come together quickly, making them ideal for a festive treat or an everyday indulgence.
Ingredients
Crust
- 1 cup graham cracker crumbs (gluten-free if needed)
- 3 tablespoons unsalted butter, melted
- 1 tablespoon granulated sugar
Filling
- 8 ounces cream cheese, softened
- 1/2 cup canned pumpkin puree
- 1/3 cup granulated sugar
- 1 teaspoon pure vanilla extract
- 1 teaspoon pumpkin pie spice
- 1/2 teaspoon ground cinnamon
- 1 cup whipped cream or whipped topping
Toppings
- Extra whipped cream
- Crushed graham crackers or a sprinkle of cinnamon
Instructions
- Prepare the Crust: In a bowl, combine the graham cracker crumbs, melted butter, and sugar until the mixture is evenly moistened and holds together when pressed.
- Form the Crusts: Spoon about 2 tablespoons of the crust mixture into each individual serving cup or jar, pressing lightly to form an even base layer.
- Make the Pumpkin Cheesecake Filling: Beat the softened cream cheese in a mixing bowl until smooth and creamy.
- Add Pumpkin and Spices: Incorporate the pumpkin puree, granulated sugar, vanilla extract, pumpkin pie spice, and ground cinnamon into the cream cheese. Beat until the mixture is well blended and creamy.
- Fold in Whipped Cream: Gently fold the whipped cream or whipped topping into the pumpkin cream cheese mixture until the filling is light, fluffy, and fully combined.
- Assemble the Cups: Spoon the pumpkin cheesecake filling evenly over the prepared graham cracker crusts in each cup, smoothing the tops for an even appearance.
- Add the Toppings: Top each cup with a dollop of extra whipped cream and sprinkle with crushed graham crackers or a dash of cinnamon for garnish.
- Chill and Serve: Refrigerate the assembled cheesecake cups for at least 2 hours to allow the filling to set before serving.
Notes
- For a gluten-free version, use gluten-free graham cracker crumbs.
- Be sure the cream cheese is softened to avoid lumps in the filling.
- You can prepare these cups a day ahead and keep them refrigerated until serving.
- Optionally, add chopped nuts or a drizzle of caramel sauce for extra texture and flavor.
- Use canned pumpkin puree, not pumpkin pie filling, for best results.
